



**Download free on Android today →
Over 30 million users open Chingari to watch short videos and discover new artists each day. If you want their thumbs to stop, video editing with effects and music is how you turn a solid take into a must‑watch clip.
Add effects that match your song’s mood, cut on the beat, keep a clear color style, and export for the screen your fans use. That is the straight path to higher watch time and replays in 2026. I learned this the hard way, after posting raw one‑take clips that got skipped in under three seconds. After I synced my cuts to the kick and used only a few tasteful effects, my average view time jumped, and I started getting real comments from real people.
As a fellow musician, I’ll show you the practical way to do it. No jargon without a quick plain‑English note. You’ll leave this guide with a workflow you can run today, even if you have never opened an editor before.
Why Video Effects Matter More Than Ever for Musicians
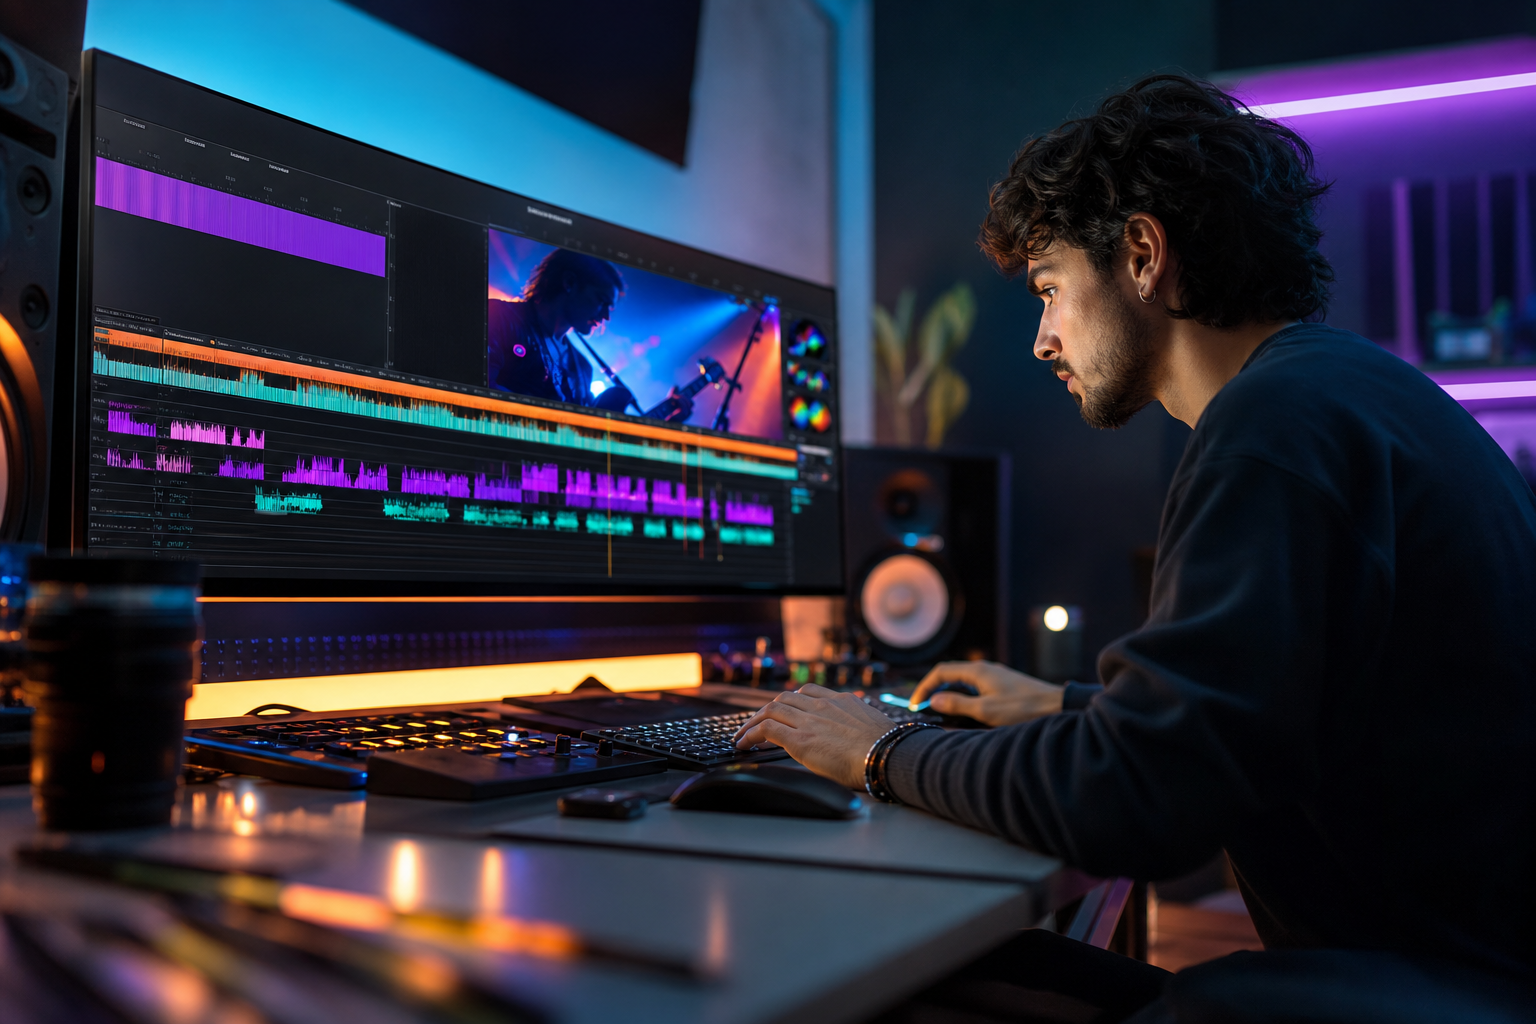
Raw performance is honest, but attention is scarce. Short‑video feeds sort clips by signals like watch time, replays, and shares. When your visuals feel tied to the rhythm, people stay. As a result, you send stronger signals, and your next upload gets shown to more listeners.
However, effects are not about hiding mistakes. They frame your playing. A light camera shake on a snare flam adds punch. A soft glow under a held note sells the emotion. Meanwhile, a clean whip transition on the phrase change keeps energy high without shouting for attention.
On the audience side, small edits lift clarity. For example, a two‑frame stutter before the chorus primes the hook. In addition, a quick brightness dip before a drop makes the impact land harder when the beat hits. These are tiny moves, but they raise retention without pulling focus from your sound.
“Edit so the viewer feels the song, not the software.” — a rule I repeat before every cut
Moreover, edited clips travel better. A color‑consistent grid on your channel feels like an album, not a pile of takes. Therefore, fans know what they’ll get when they tap your face again. In 2026, that trust is a factor as real as your tone.
Finally, remember your goal: build repeatable moments that people want to rewatch. Thoughtful effects serve that. Heavy effects bury it. Throughout this guide, you’ll see how to slot simple edits into your process for video editing with effects and music without turning into a full‑time editor.
Step-by-Step: Editing a Music Video with Effects That Match Your Sound
Before you start, pick one 30–60 second section of your song. Short clips force clear choices and teach you fast. This step‑by‑step path keeps you moving.
-
Choose footage style to match your genre
Decide on a look that fits your track. For a folk ballad, use locked‑off shots, soft light, and warm tones. For drill or EDM, go handheld or gimbal with more motion and sharper contrast. In addition, plan 2–3 angles, even if it’s the same take recorded from different spots. Variety lets your edit breathe. -
Beat‑map your edit cuts
Import your audio first. Then, add markers on kicks, snares, or key rhythmic hits. Most editors let you tap “M” while the track plays to drop markers. Specifically, aim to cut on strong beats or right before a phrase change. If you’re new, try a simple rule: cut on 1 and 3 for half‑time grooves and 2 and 4 for backbeat tunes. -
Layer effects to match the mood
Pick two effect families and stop there. For calm songs, use subtle film grain and a soft bloom on held notes. For high‑energy tracks, try a slight motion blur on whip pans and a two‑frame strobe right before drops.
Keep effects at low strength first. Then nudge up only if the musical moment asks for it. This is where video editing with effects and music wins by restraint.
-
Color grade for genre consistency
Apply one look across all clips. Start with white balance, then exposure, then contrast. Finally, push a small color cast that matches your vibe: warm oranges for soul, cool teals for synthwave, and neutral for clean pop. Save this as a preset or LUT so the next video matches. Consistency makes your grid feel like a record. -
Sync transitions to the rhythm
Use speed ramps or whip transitions only when they land on a beat. Therefore, the eye reads motion as part of the groove, not a random jump. For example, ramp in at 80% speed two beats before the chorus, then snap to 100% on the drop. Keep it tight: 4–6 frames is enough for most whip moves. -
Export for platforms your fans use
Choose the aspect ratio before you export. Use 9:16 (1080×1920) for vertical feeds, 1:1 (1080×1080) for square, or 16:9 (1920×1080) for widescreen. In addition, stick to the platform’s export presets inside your editor. They set frame rate and codec well enough for you to focus on music.
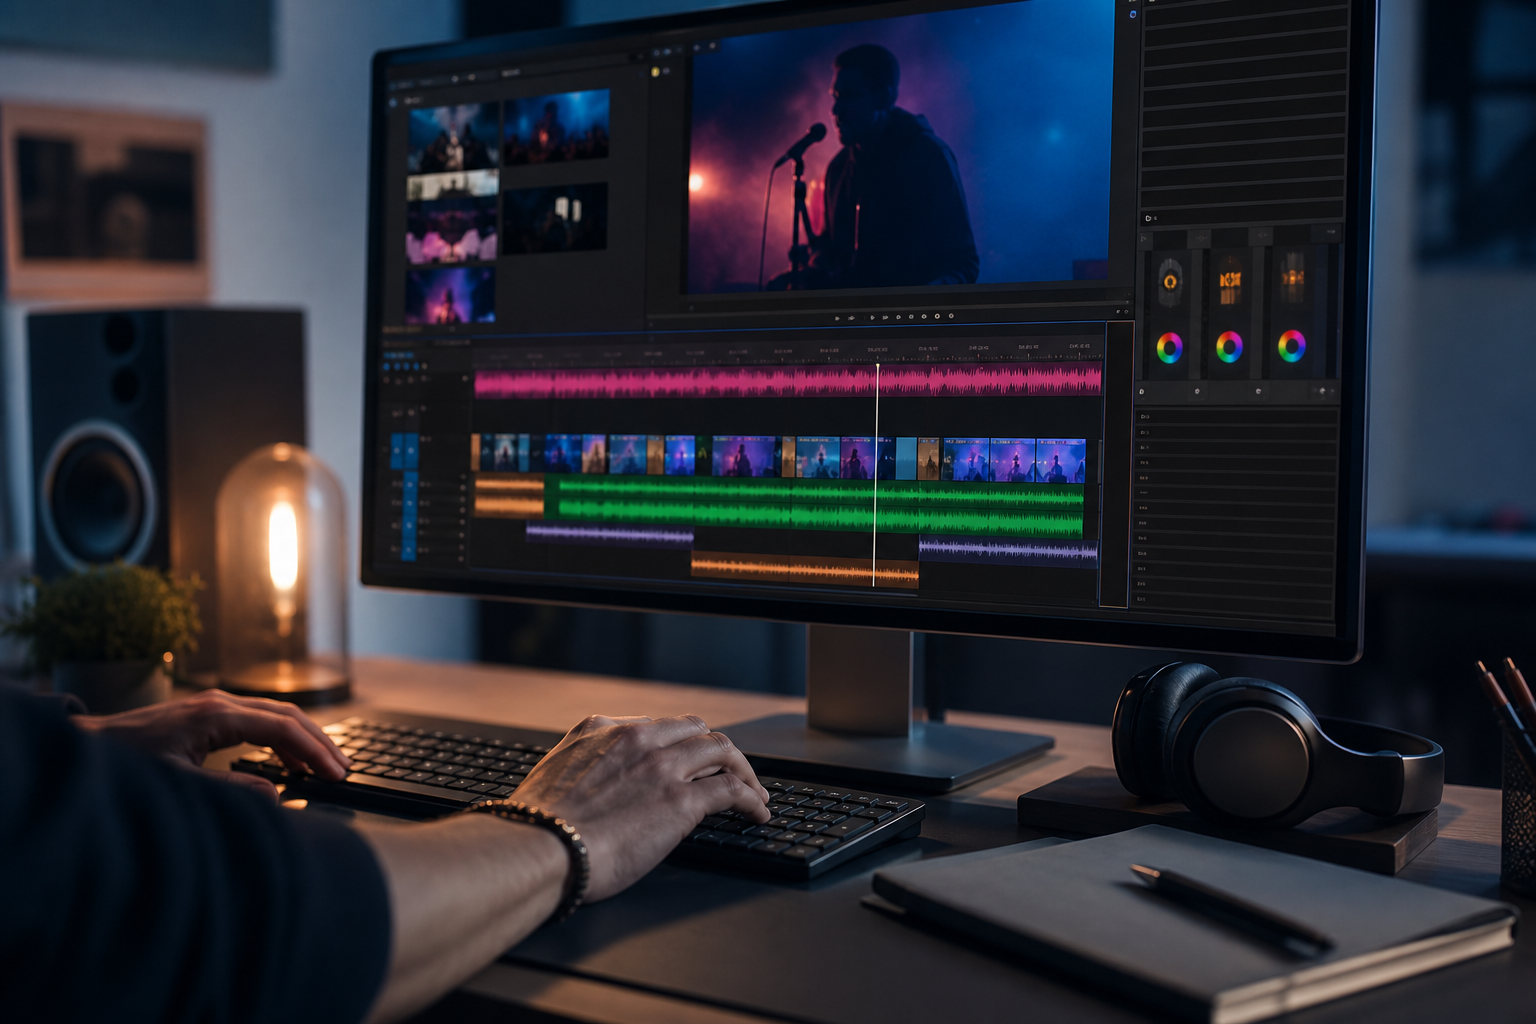
Furthermore, label and archive each project with this pattern: “SongName_Key_Tempo_V1_2026.” Later, you’ll grab assets fast. This tidy loop keeps video editing with effects and music fun, not a time sink.
Also Read!
Best Live Audio Rooms for Musicians and Singers in 2026
Chingari vs Josh for College Students: Which Is Better for Indian Language Video?
5 Common Mistakes Musicians Make When Adding Video Effects
You don’t need fancy tools to avoid the big errors. You need taste, timing, and a checklist. Here are the issues I see musicians trip on and how to fix them.
1) Overusing effects that distract from the song
If the snare hits but the flash fires on the off‑beat, brains check out. Keep effects under the vocal and groove. Start at 30–50% intensity, then back down until you miss it, and nudge up one click. Restraint reads as pro.
2) Ignoring aspect ratios per platform
Exporting 16:9 and posting it vertical makes your face tiny. Instead, shoot with safe margins and export native sizes. If you need a refresher on why frames crop the way they do, see this primer on image aspect ratios. Your mix deserves the right canvas.
3) Poor audio‑visual sync
A half‑second drift ruins trust. Therefore, always clap at the start of your take to set a clear sync point. In post, line up the clap spike on the waveform, then nudge by single frames until the visual hit matches the audio transient.
4) Inconsistent color grading across clips
If each angle looks like a new room, viewers feel lost. Balance shots before you add a look. Match white balance and exposure clip by clip, then apply your grade on an adjustment layer so everything shares the same finish.
5) Neglecting the thumbnail or cover frame
People judge by the first frame they see. Pick a cover with eye contact, clear instrument, and clean background. Moreover, avoid mid‑blink frames or messy gear piles. A sharp frame with a hint of action gets more taps.
As you fix these, repeat this line in your head: video editing with effects and music should amplify what you played, not steal the spotlight.
Best Tools and Platforms for Musicians Editing Video Content
You can do pro‑feeling edits without a studio budget. Here’s a balanced look at tools and where to share your work.
CapCut
A friendly choice for quick cuts, beat markers, keyframes, and a big effect library. It shines for mobile‑first edits and has strong text tools. However, export naming can get messy if you don’t set folders early.
DaVinci Resolve
A deep desktop editor with world‑class color. Resolve’s Fairlight page also treats your mix with care. As a result, you can keep your sound tight while you grade. It’s great for long‑form sessions and serious shorts alike.
Adobe Premiere Rush
A lighter, cross‑device tool that keeps the basics simple. You get trims, transitions, titles, and clean exports. Therefore, it suits quick turnarounds and tour edits when you’re remote.
InShot
A speedy mobile editor for snappy trimming, reframes, and simple filters. It’s ideal for vertical splits and fast social posts. On the other hand, its color controls are basic, so pair it with a LUT from elsewhere if you can.
For distribution: Chingari
India’s #1 Social Networking App. It offers short video sharing capabilities and live video streaming, and it’s available in 10+ languages. As social proof, the platform reports Over 30 million users and 1.6 billion views, with 1.3 crore Play Store downloads. In addition, Chingari highlights data protection and security measures, which helps artists feel safe as they post and go live.
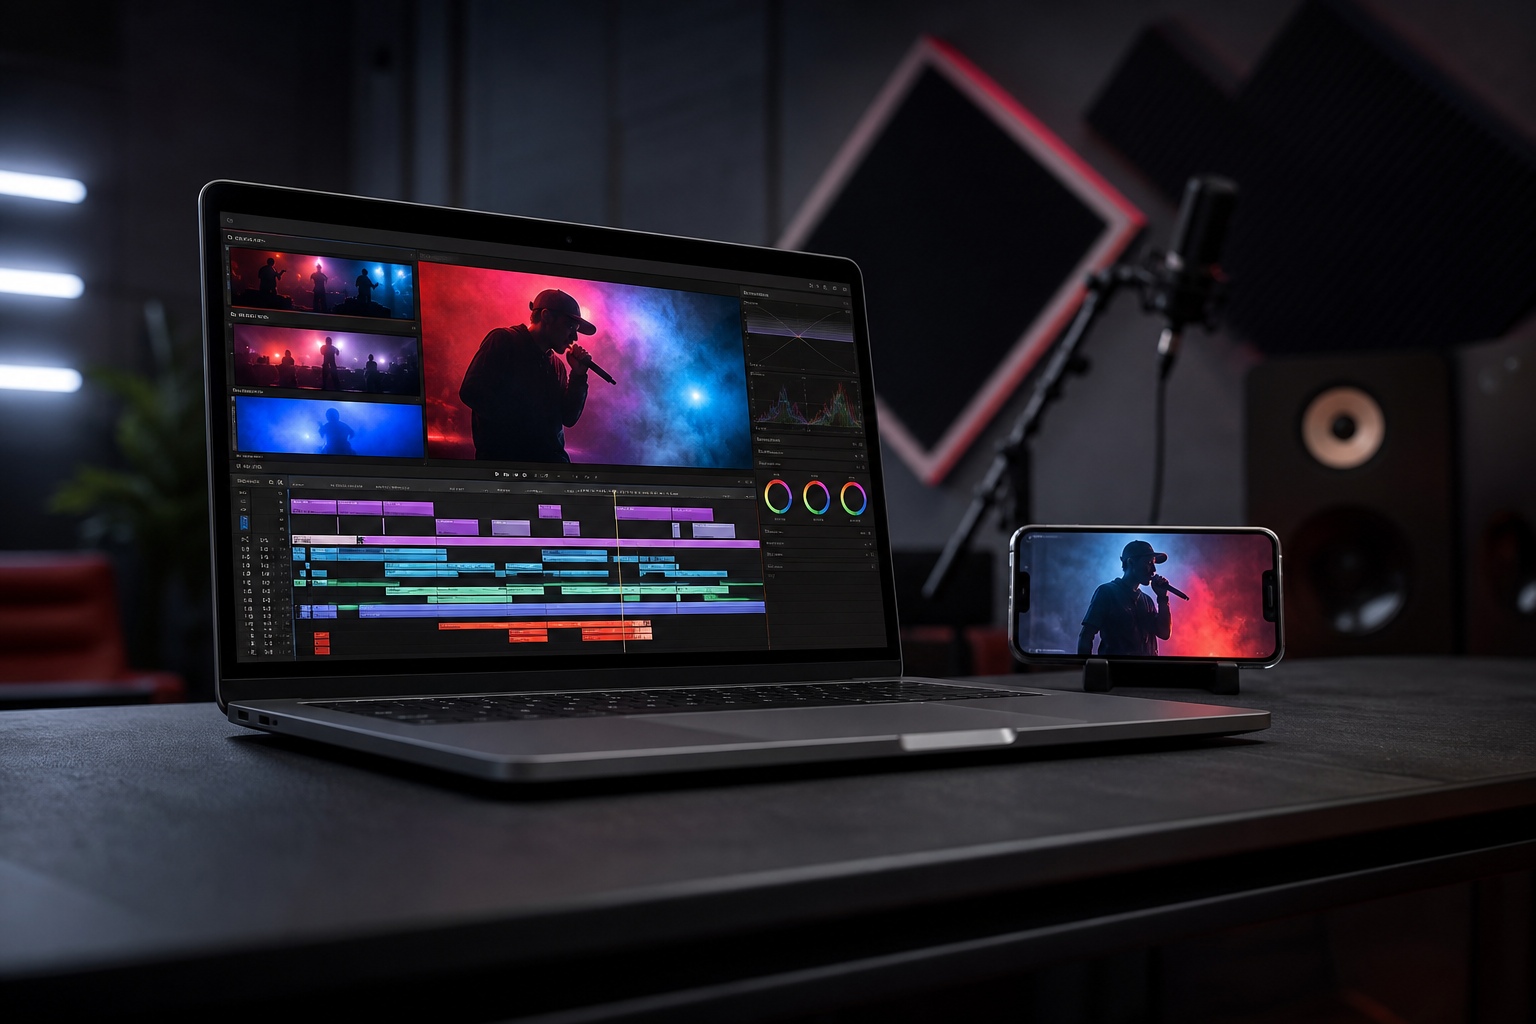
Moreover, short‑video platforms are built for discovery. Individuals wanting to showcase their talent meet fans there, not just friends. Therefore, once your clip is cut, color‑matched, and exported, publishing to a music‑friendly audience gives your work a real shot. This is the moment your video editing with effects and music turns into listener growth in 2026 and beyond.
Key Takeaways
Before we wrap, lock these ideas in. They form a simple loop you can run every week without burning out or losing the joy of playing.
- Effects serve the groove. Cut on the beat, match transitions to phrases, and keep intensity low until the song asks for more.
- One color look per song keeps your grid cohesive. Grade on an adjustment layer so every angle shares the same finish.
- Export to the frame your fans use, then set a strong cover frame with eye contact and a clean background.
- Keep your toolkit light: one mobile editor for fast posts and one desktop editor for deeper sessions. Save presets to move faster next time.
- Publish where music fans gather. Social proof and security matter as your audience grows, so pick platforms that offer both.
In short, video editing with effects and music is a musician’s craft as much as tracking a vocal. You design moments that feel like the song looks. Then you repeat the process and get better every week. In 2026, that loop builds real reach.
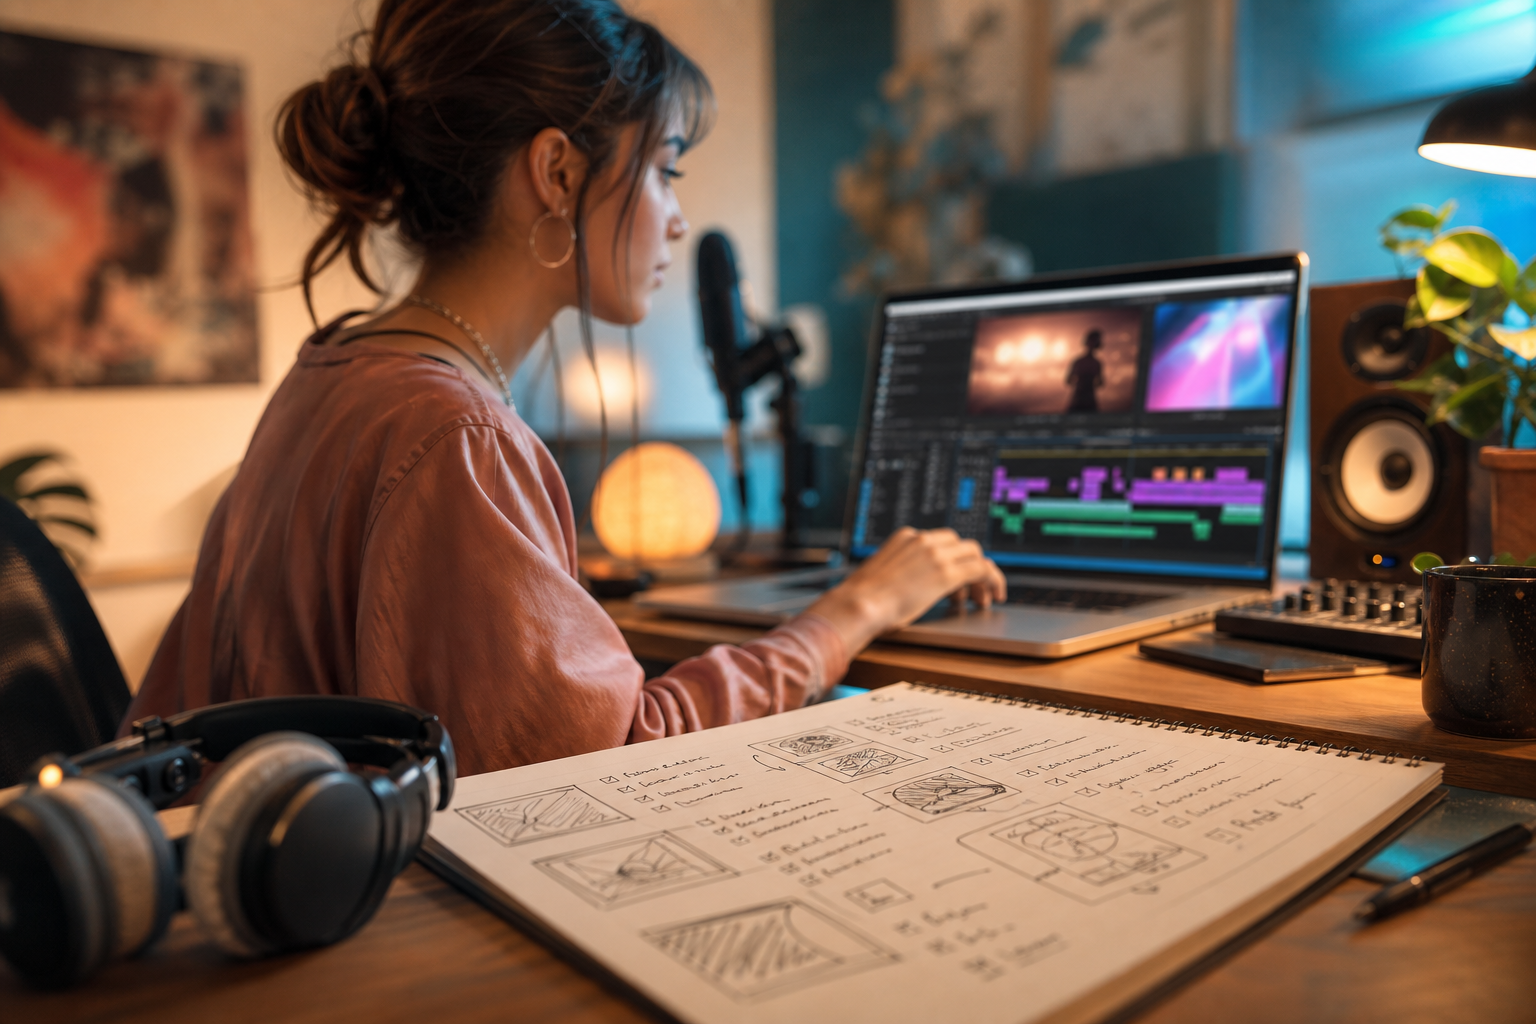
What to Do This Week: Your First Edited Music Video
Start small and ship. Here’s a one‑week plan that fits between practice and gigs.
- Day 1: Pick a 30‑second section with a clear hook. Record two angles of the same take.
- Day 2: Import audio first. Tap markers on kicks and snares. Trim your best moments.
- Day 3: Add two effects only (for example, soft bloom and whip). Keep them under 50% strength.
- Day 4: Apply one color look to all clips. Save it as a preset for your next song.
- Day 5: Export 9:16 and 16:9 versions. Set a strong cover frame with eye contact.
- Day 6: Post to two platforms and pin a comment that asks a simple question about the track.
- Day 8: Check watch time, replays, and shares. Then iterate. Change one variable on the next upload.
As you post, remember the point: your edit should help people feel the music faster. Keep your process light, your choices musical, and your finish clean. This is how you build steady reach with video editing with effects and music without losing time for practice.
 Best Live Audio Rooms for Musicians and Singers in 2026
 Short Video Creation and Sharing for Musicians (2026)