



**Download the Android app free →
Your first 10 live viewers will teach you more than 100 edited posts. You can go live this week with your phone, a quiet corner, and a 15‑minute plan. Live video streaming removes the filter between you and your audience, and in 2026 that speed of trust matters. You do not need pro gear or a big following to start. You need clear intent, decent audio, and a simple structure.
Here is the answer you came for: plan one topic, use your phone mic or a cheap clip‑on, face a window for light, and keep the stream to 20–30 minutes. Speak to one person, not “everyone.” Tell viewers what to expect, then deliver. That’s enough to learn fast and get your first wins.

What New Creators Actually Need to Know Before Going Live
Anxiety spikes before you press “Go Live.” That’s normal. However, live video streaming is just a real‑time broadcast where people can watch and respond as you speak. According to Wikipedia’s live streaming overview, it’s media sent over the internet in real time without a full file download.
That’s it. No magic. No need for a studio.
The fastest route to real connection is not polish. It’s presence. In fact, viewers forgive raw edges when you are clear, kind, and useful.
They want to see you think on the fly. They want answers and a reason to stay. Therefore, focus on clarity, not gear.
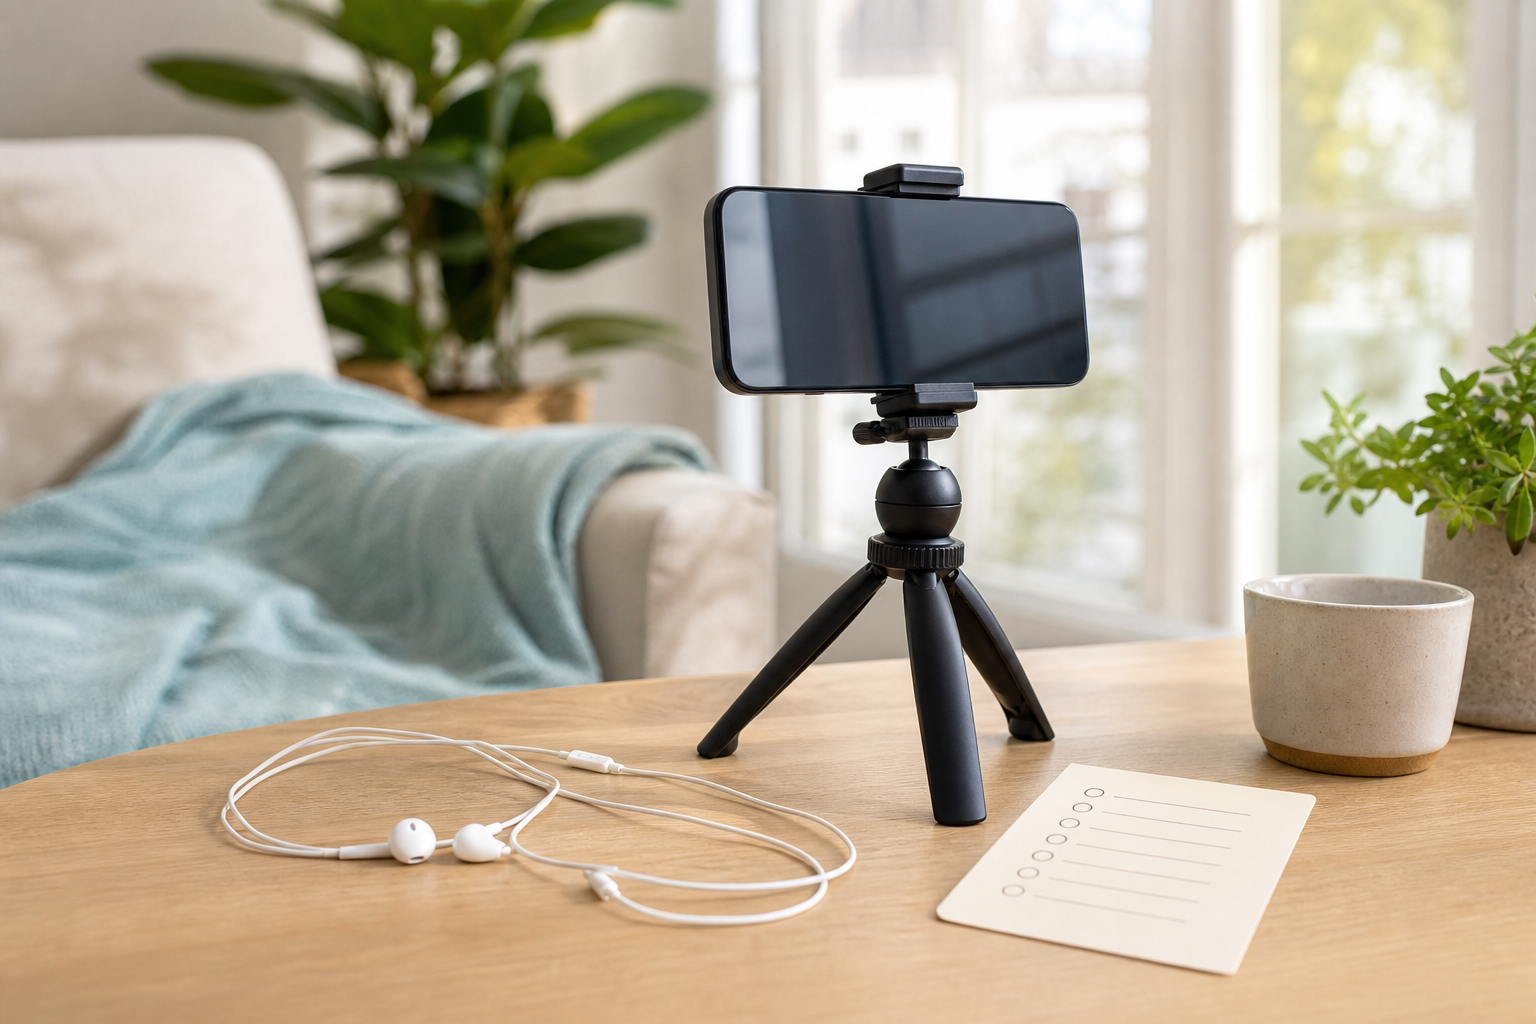
So, what does “good enough” look like for a first stream? Use your phone’s rear camera if you can, since it is sharper. Sit near a window facing the light. Plug in wired earbuds or a low‑cost clip‑on mic.
Stabilize your phone with stacked books. Set your phone on Do Not Disturb. Then, outline your opening, three talking points, and a close.
A quick “first‑stream” checklist
- Topic: one problem you can solve in 15–30 minutes
- Audio: wired earbuds or a ₹800–₹1500 clip‑on mic
- Light: face a window; turn off backlights
- Framing: camera at eye level; clean, calm background
- Network: 10 minutes of test calls or a private stream
Moreover, set sane expectations. Ten viewers who chat beat 1,000 silent lurkers. As a result, set a goal you control: “Answer three live questions,” not “Get 100 likes.” You can improve the rest in your next stream.
Your First Live Stream in 7 Steps: A Beginner's Walkthrough
You can set up a simple, repeatable process in one weekend. This step‑by‑step plan keeps you moving while you learn. Yes, we will mention live video streaming throughout, but we will keep it specific and calm.
Step 1: Pick a niche or topic
Choose one slice of your world you can talk about every week. For example, “15‑minute yoga breaks for desk workers,” “budget street food reviews,” or “first‑time coding in Python.” Be specific so people know why to join.
Step 2: Choose a platform
Select the place your target viewers already use. For a broad reach, consider YouTube Live. For short‑form fans, consider mobile‑first apps. If your audience is India‑based and loves short videos plus live features, pick a mobile app they already use. Decide, then commit for four weeks.
Step 3: Set up basic gear (phone, lighting, audio)
Use your phone. Face a window for soft light. If your room is dark, bounce a desk lamp off a wall to avoid harsh shadows. For audio, wired earbuds beat a bare phone mic near traffic. Place the mic 15–20 cm from your mouth.
Step 4: Test your connection
Run a 5‑minute unlisted or private stream. Speak, switch scenes (if any), and read comments on a second device. Therefore, note delays, echo, or drops. Fix what you can, then move on. Perfect is not the goal; a stable 20–30 minutes is.
Step 5: Promote 24 hours ahead
Post a teaser with the title, time, and what viewers will get. For example: “Live at 7 pm: 3 shoulder‑stretch fixes for desk pain.” Share a reminder one hour before you go live. Ask two friends to join and ask the first questions.
Step 6: Structure your stream
Use a simple arc:
- Hook (30 seconds): say who it’s for and what they’ll get
- Body (15–20 minutes): teach or show, one point at a time
- Q&A (5–10 minutes): answer live chat
- Close (1 minute): recap and give one next step
Specifically, script your first and last 60 seconds. Everything between can be flexible.
Step 7: Engage viewers in real time
Greet people by name. Repeat good questions for context. Ask one “yes/no” or poll question every 5–7 minutes to keep chat alive. Furthermore, if chat is quiet, keep teaching; your replay viewers still learn. Invite a simple action: “Type ‘plan’ if you want my outline template.
Also Read!
Chingari vs Instagram Live for New Creators: Which Is Better for Live Video Streaming?
5 Mistakes New Live Streamers Make (and How to Avoid Them)
First‑stream nerves push people into fixable traps. Here are the big five, plus simple fixes. Keep live video streaming focused, short, and kind to yourself.
Mistake 1: Waiting for the “perfect” setup
You do not need a DSLR, ring light, or mixer. As a result, you stall for weeks. Fix: stream with a phone, window light, and wired earbuds. Upgrade only after five streams, when you know what to improve.
Mistake 2: Ignoring chat while you teach
People leave when they feel unseen. Fix: pause every 5 minutes, scan chat, and answer one question. Moreover, say the person’s name. If chat is empty, ask a prompt like, “Where are you watching from?
Mistake 3: Streaming too long without structure
A 90‑minute ramble loses viewers. Fix: cap it at 20–30 minutes with a clear outline: hook, three points, Q&A, close. Therefore, book a timer on your desk. Stop on time, even if it goes well.
Mistake 4: Inconsistent schedule
If you go live at random, people miss you. Fix: pick one day and time for four weeks, like Thursdays at 7 pm. In addition, add it to your bio and pin a post as a reminder.
Mistake 5: Comparing yourself to big creators
They have teams, gear, and years of practice. You have your next rep. Fix: compare stream 1 to stream 5. Track one metric you control, like “questions answered,” not vanity counts.
Best Tools and Platforms for Beginner Live Streamers
You have three broad routes: mobile‑first apps, desktop software, and hybrid setups. The best choice is where your audience already spends time, and where you can hit “Go Live” with the least friction. Keep live video streaming simple while you learn.
Mobile‑first apps: These let you stream from your phone with minimal setup. Instagram Live and YouTube Live are common picks. For India‑based creators who want both live and short‑video reach in one place, tools like Chingari are an option.
Chingari offers live video streaming, short video sharing, and live audio rooms, and is available in 10+ languages. It also cites 50 million+ users and focuses on data protection and security, with recognition as India’s #1 Social Networking App. That mix gives you social proof, local language reach, and safety signals in one app.
Desktop tools: If you want overlays, scenes, and screen shares, use OBS Studio or Streamlabs on a laptop. Furthermore, run a wired internet connection and a USB mic for cleaner audio. For bitrate and resolution guidance, see the YouTube Live encoder settings on developers.google.com or similar creator docs from Google without guessing numbers.
Hybrid options: Start on mobile, then add a desktop encoder later for interviews and screen demos. Therefore, keep your on‑camera segments short and your transitions planned.
Free lighting and audio hacks that work
- Light: face a window; place a white paper or reflector opposite your face to fill shadows.
- Backdrop: hang a plain sheet or stand a bookshelf behind you.
- Audio: throw a blanket on a table to cut echo; close hard‑surface doors.
- Framing: raise your phone to eye level with books; keep your head near the top third.
What to Do This Week to Launch Your First Live Stream
A simple 7‑day plan keeps your momentum high and stress low. By next week, you will have your first live video streaming session done, with notes on what to fix. In 2026, speed to first rep beats fancy gear.
Day 1–2: Pick your topic and platform
Choose a narrow topic you can sustain for four weeks. Then pick one platform that matches your audience. Write one sentence that says who it is for, what they’ll get, and when you go live.
Day 3: Test your gear
Film a 2‑minute test talking to the camera. Listen on headphones. Adjust mic distance. Move closer to a window. Fix one thing only.
Day 4–5: Announce the stream
Post a save‑the‑date with time, topic, and value. Share a short teaser. Ask two friends to join and ask the first questions so you can warm up.
Day 6: Private rehearsal
Run a private or unlisted stream. Rehearse your 60‑second hook and your close. Time the body to 15–20 minutes. Note any tech hiccups and fix the easiest one.
Day 7: Go live
Show up 5 minutes early. Breathe. Read your hook, teach your three points, answer one question, and close. Then, write two notes: what worked, what you’ll change next time. Schedule the next stream.
Key Takeaways
- You can go live with a phone, window light, and wired earbuds; structure beats gear.
- Plan a 20–30 minute arc: hook, three points, Q&A, close; script the first and last minute.
- Engage by name, prompt chat every 5–7 minutes, and track one learning goal you control.
- Pick tools that match your audience; start mobile, add desktop scenes later if needed.
- Consistency across four weekly streams teaches more than one “perfect” debut.
What to Do This Week
Block 60 minutes to outline your first stream, 15 minutes for a private test, and one evening to go live. Then, schedule three more dates. The habit, not the hype, builds your audience.
 Live Video Streaming: Chingari vs Instagram (2026 Guide)
 Indian Language Video Platform for New Creators