



1.6 billion views is the scale short video can reach. This guide shows you video editing with effects and music so your first edits hold attention in 2026.
Start by picking music that matches the mood, then cut on the beat, and keep your audio levels clean. Use simple effects, jump cuts, light motion blur, and text overlays, to make your story clear, not loud. Export in the right format for the platform, and you’ll see watch time rise because your video feels smooth and intentional. That’s the whole playbook in one paragraph.
Moreover, the fastest way to grow as a beginner is to focus on rhythm and clarity. Specifically, you’ll learn how to trim pauses, align cuts to BPM, keep music under dialogue at -18 dB, and use two or three tasteful transitions. As a result, your edits will look pro without hours of tweaking.
What Effects and Music Actually Do for Your Videos
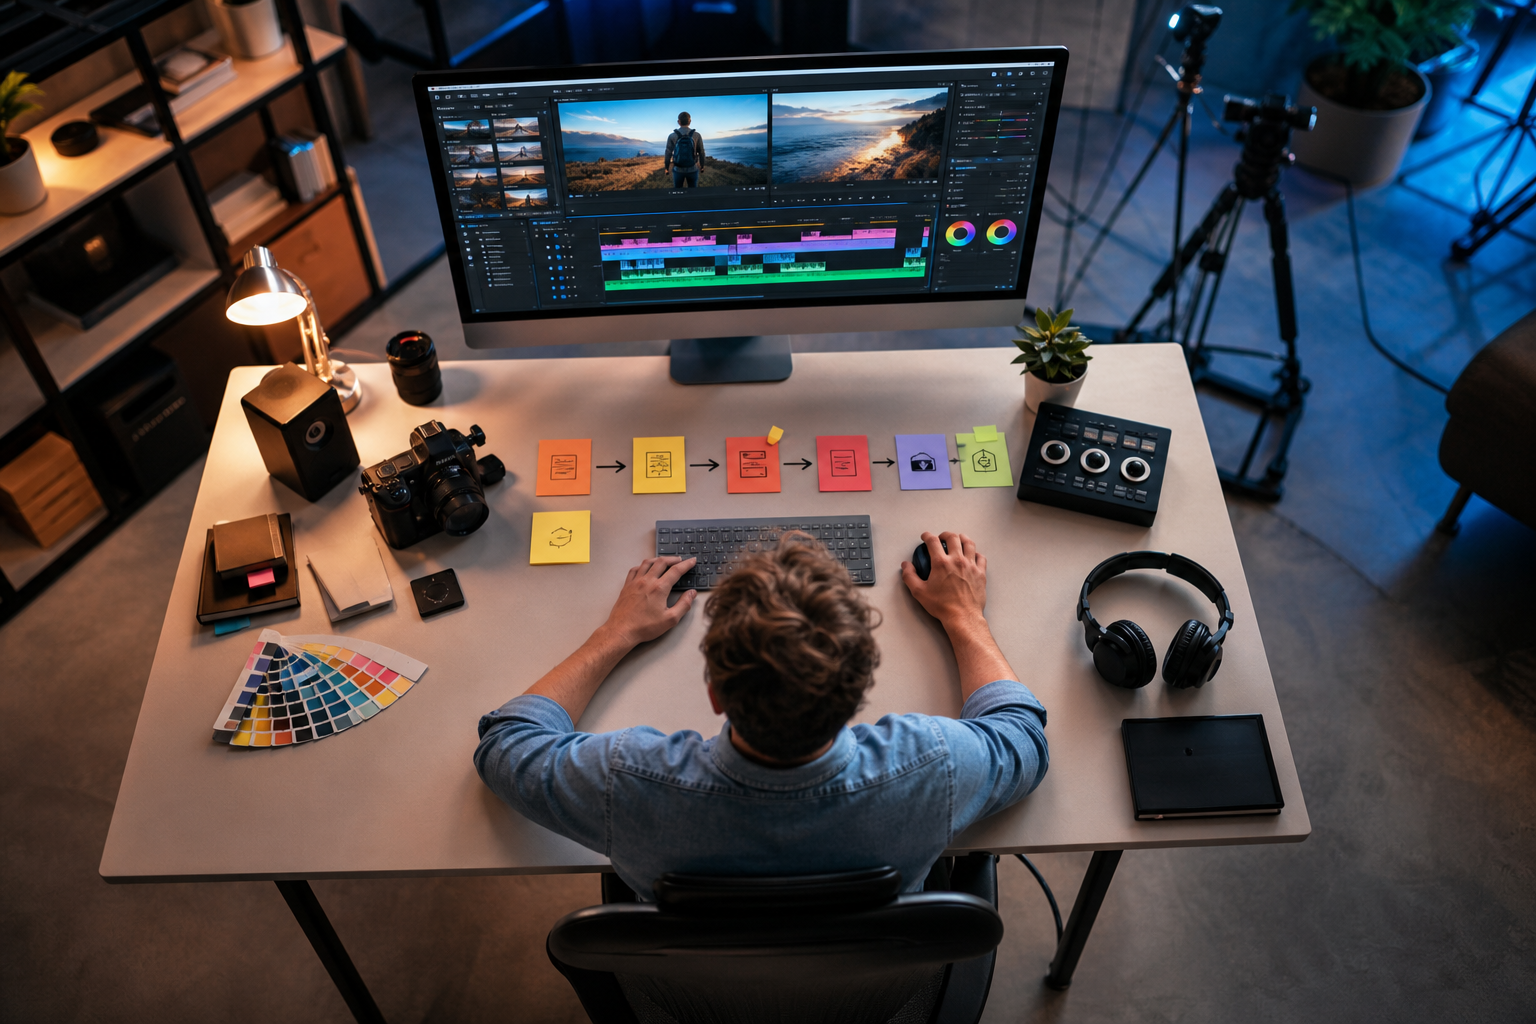
Effects polish the flow; music carries the emotion. Together, they guide the viewer’s eyes and ears so your story lands. When you cut silence and stack quick jump cuts, the pace feels brisk and alive. When you choose a mellow track and add gentle crossfades, the tone feels calm and thoughtful.
For example, a jump cut removes dead air and keeps your face or subject centered between takes. It’s fast and direct. A smooth cross-dissolve, used sparingly at 8–12 frames, can signal time passing or a change of topic. A 90-degree rotate-and-scale transition (102–105% zoom) adds energy, but do not chain ten of them in a row. One or two is enough.
Pacing and Retention
Music shapes retention because it sets cadence. If your story beat hits at the same moments as the song’s kick or snare, the edit “locks in.” Viewers feel that rhythm even if they can’t name it. According to YouTube’s Search and Discovery documentation, watch time is a core signal for surfacing videos; clean pacing and clear audio help viewers stay to the end.
In addition, text overlays do two big jobs: context and hooks. A three-word headline in the first 2–3 seconds can keep a swipe-happy viewer watching. Lower-thirds with names, quick definitions, or “Step 2: Mix Colors” help people follow your plot without pausing.
Examples that add polish
- Use jump cuts every 2–6 seconds to strip filler words and long blinks and keep momentum.
- Introduce L-cuts and J-cuts so the next audio leads by 6–12 frames before you cut picture.
- Add motion blur with a 180° shutter look to smooth fast transitions, and keep text overlays within 80–92% safe margins.
- Keep overlays high-contrast with 2–3 words max for quick readability.
- Side-chain background music under the voice so it peaks around -18 to -15 dB and never competes with dialogue.
For deeper inspiration tailored to singers and instrumentals, bookmark this internal guide: Best Video Editing Effects & Music for Musicians and Singers in 2026. It includes genre-by-genre picks you can adapt to any niche.
Moreover, study edit terms like the jump cut on Wikipedia’s article about jump cuts to understand why certain cuts feel snappy or jarring. A little theory speeds up your choices in the timeline.
Step-by-Step: Adding Effects and Music to Your First Video
Here’s a 7-step workflow that works for your very first edit. Keep it simple, hit these settings, and publish.
1) Choose 3–5 strong clips
Pick 60–90 seconds of total footage that truly carries your story. Prefer stable shots with clear, readable subjects so your cuts feel intentional. Shoot at 30 fps for most content, and reserve 60 fps only when you plan to slow footage down.
2) Pick a mood in 5 words
Write a mini-brief such as “High-energy gym tutorial” or “Calm morning sketch.” Use that short phrase as your north star when choosing music. Let it also guide your color choices so visuals and audio reinforce the same vibe.
3) Select music first
Choose a track that matches your mood brief closely. Target 85–110 BPM for upbeat explainers and 60–80 BPM for calm demos so pacing aligns with your message. Loop or trim the song to 30–45 seconds for shorts to keep the piece tight.
4) Cut to the beat
Drop markers on the downbeat every 2–4 bars to map your cadence. Align your primary picture cuts to those markers so viewers feel the rhythm. Use J-cuts and L-cuts to let audio lead or trail the visuals by 6–12 frames for smoother flow.
5) Layer simple effects
Use at most one or two transitions across the whole video; an 8–12 frame cross-dissolve works well. Add motion blur to masked transitions so edges don’t feel harsh. For emphasis, scale to 108–112% over 6–8 frames on punchlines.
6) Add text and captions
Place a hook title in the first two seconds using 3–5 high-contrast words with a subtle 30–40% drop shadow. Set lower-thirds within the 85% safe title area so they’re readable on all screens. Include burnt-in captions or auto-captions sized around 14–18 pt for mobile.
7) Export clean
- Aspect: 1080×1920 (vertical shorts) or 1920×1080 (horizontal).
- Codec: H.264; Bitrate: 8–12 Mbps for 1080p.
- Audio: -14 to -16 LUFS integrated; peaks under -1 dBTP.
Specifically, set your voice track so dialogue peaks around -6 dB on the channel meter. Then drop background music to -18 dB as a starting point. If your editor supports sidechain compression, set a 3:1 ratio with -10 dB threshold to duck music under speech by 3–5 dB.
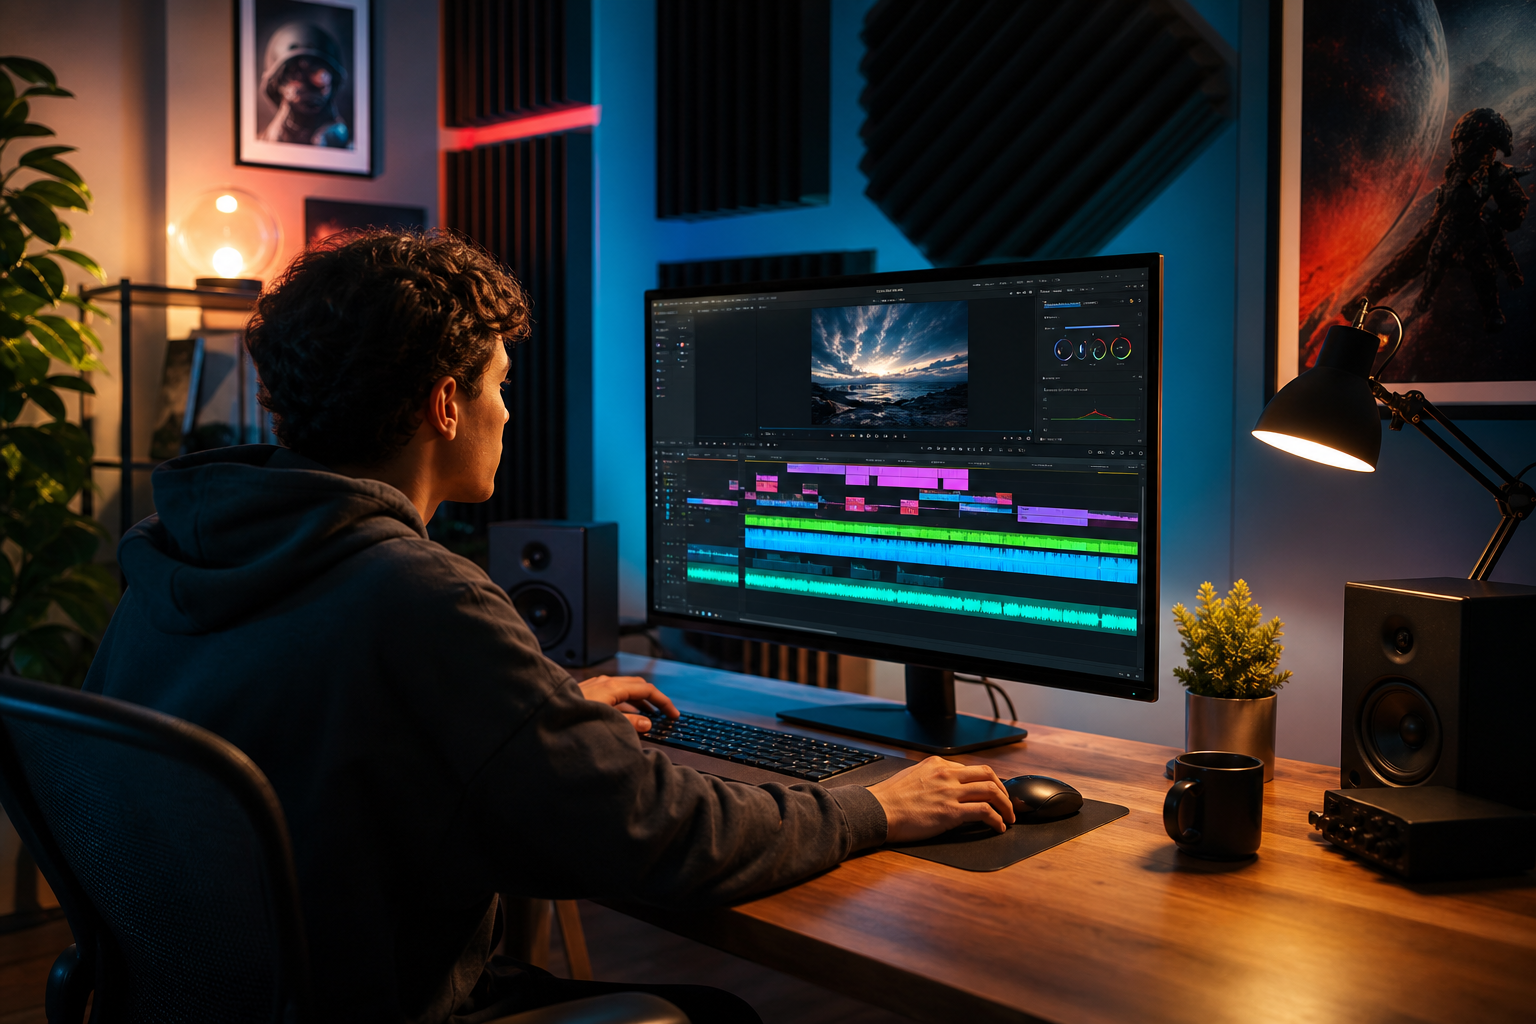
Furthermore, keep your timeline tidy. Name tracks “VO,” “Music,” and “FX.” Color-code clips so you can spot B-roll and A-roll at a glance. You’ll move faster and make fewer mistakes with this small habit.
**Get the free iOS app today →
Also Read!
How to Find the Best Indian Language Video Content as an Indian User
Chingari vs Moj for Indian Users: Which Is Better for Indian Language Video?
5 Mistakes New Creators Make with Effects and Music
You can avoid the most common errors with a few guardrails. Here are five traps and how to fix each one so your video editing with effects and music feels pro, not noisy.
- Overusing transitions
- Problem: Every cut spins, flips, or zooms, which feels like a slideshow.
- Fix: Use straight cuts for 90% of edits. Limit “wow” transitions to once or twice, and keep them under 12 frames.
- Copyright violations
- Problem: You add a chart hit you don’t own; your post gets muted or removed.
- Fix: Use royalty-free tracks from sources like Pixabay or the YouTube Audio Library (search by BPM and mood). Save licenses and track names in a text file with your project.
- Music drowning out voice
- Problem: Viewers strain to hear, then swipe away.
- Fix: Set voice to peak near -6 dB. Drop music to -18 dB under speech. Add sidechain ducking 3–5 dB when dialogue is present. Check levels on phone speakers and earbuds.
- Mismatched tone
- Problem: Sad piano under a hype sneaker review, or trap beats on a calm how-to.
- Fix: Write your 5-word mood brief first. Pick music that matches it, then color grade to support the same mood (warm for cozy, cooler for techy).
- Ignoring audio levels
- Problem: Clips jump in loudness between shots; viewers feel jolted.
- Fix: Normalize dialogue to -16 LUFS for short-form. Fade in/out 6–12 frames around cuts with room tone to hide seams. Keep true peak under -1 dBTP.
Additionally, if you plan to record voice later, leave 2–3 seconds of room tone at the head of your timeline. That small pad helps you hide future edits. For more editor-specific pointers for creators, compare workflows in Chingari vs InShot for Musicians and Singers: Which Is Better for Video Editing with Effects and Music?
Free and Beginner-Friendly Tools for Effects and Music
You don’t need paid tools to start strong. These free options cover cutting, effects, and clean audio.
Starter apps and music sources
CapCut on desktop or mobile gives you easy beat markers, auto-captions, and a solid set of basic transitions, which makes it ideal for fast shorts. DaVinci Resolve (free) delivers pro-grade cutting and color; if the Edit page feels heavy, stick to the Cut page. iMovie on macOS/iOS excels at clean titles, trims, and gentle crossfades as long as you keep projects short. For royalty-free music, try Pixabay Music or the YouTube Audio Library, and download full-quality WAV files when available.
All-in-one platforms
Platforms like Chingari are another path if you want built-in effects, music, and direct sharing in one place. As an India-based short video sharing platform, it includes short video sharing capabilities and is available in 10+ languages, which helps individuals wanting to showcase their talent reach the right audience without extra tools. It’s also recognized as India’s #1 Social Networking App and emphasizes data protection and security measures, good signals if you care about privacy while you grow.
Moreover, if you’re a singer or instrumentalist, set aside 20 minutes to scan genre tips in Best Video Editing Effects & Music for Musicians and Singers in 2026. You’ll get concrete BPM ranges and overlay ideas you can steal this week.
Key Takeaways
Cut to the beat you choose first, aligning main edits to downbeats and using J/L-cuts for flow. Keep voice clear by targeting -16 LUFS integrated with peaks near -6 dB, and set music around -18 dB under speech. Favor simple craft: straight cuts for 90% of edits with just one or two short transitions, plus tight text overlays in the first 2–3 seconds. Export vertical at 1080×1920 in H.264 at 8–12 Mbps, then review on phone speakers before posting.
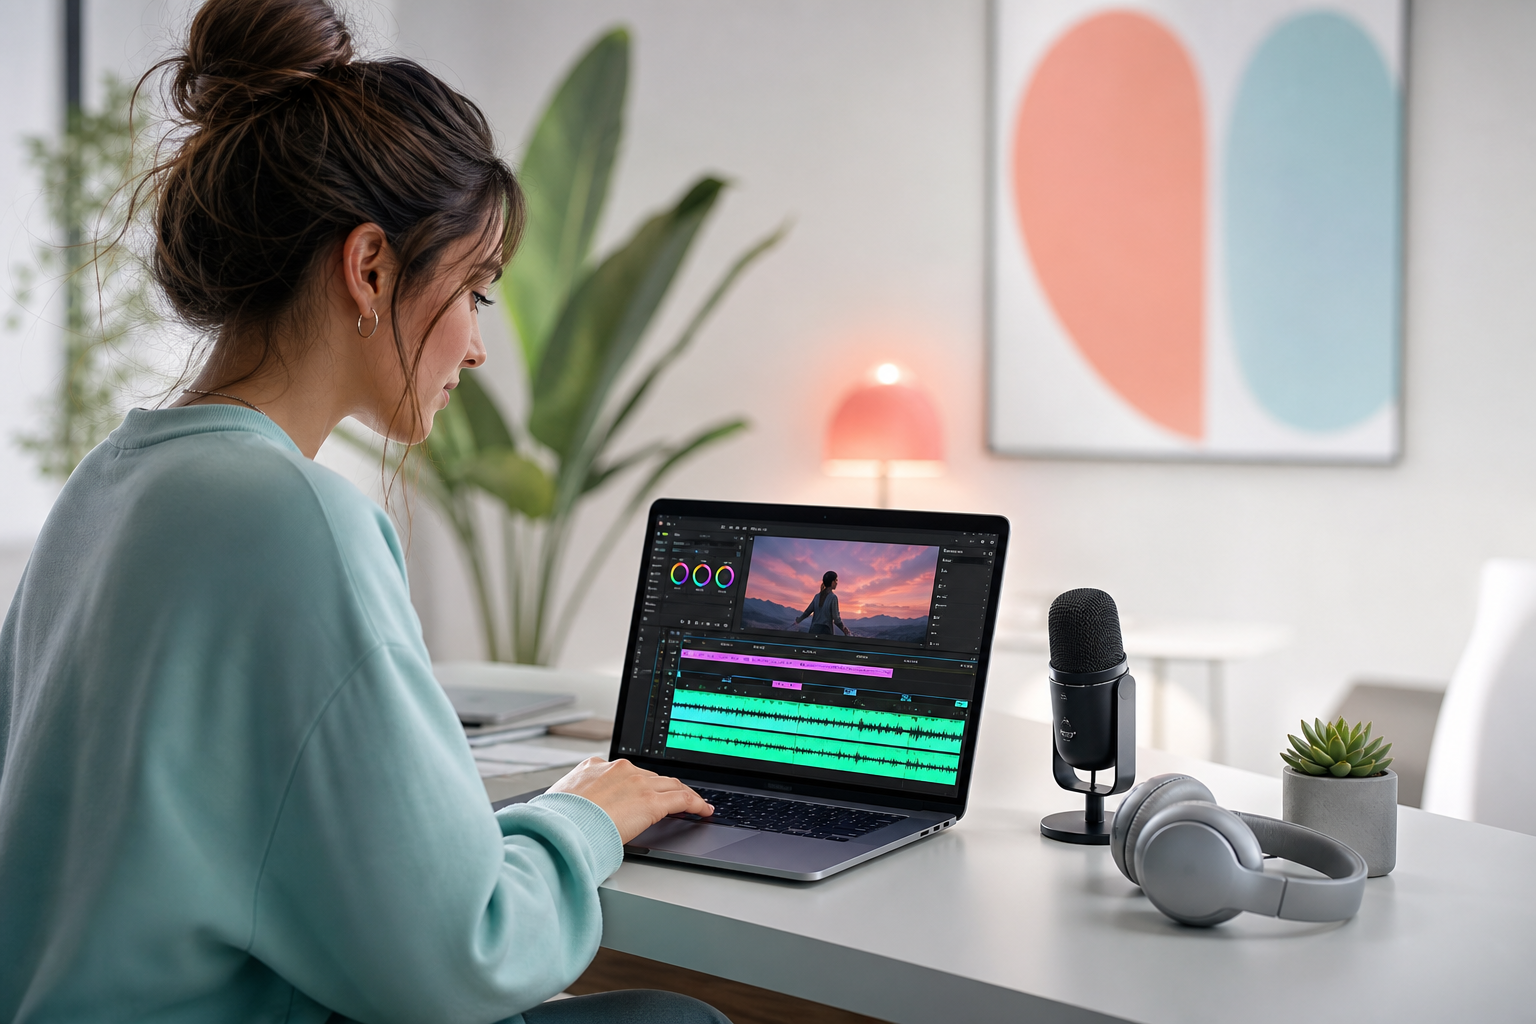
What to Do This Week: Your First Edited Video
Make your first finished piece in five short sessions. You’ll practice video editing with effects and music without getting stuck in menus.
- Day 1 — Pick a tool
Install CapCut, DaVinci Resolve, or iMovie. Create a new 1080×1920 project. Label tracks “VO,” “Music,” and “FX.
-
Day 2 — Shoot 60 seconds of raw footage
-
Record 5–8 clips of a simple process: a recipe step, a sketch, or a workout set. Hold each shot 5–8 seconds. Shoot at 30 fps.
-
Day 3 — Add music and mark beats
Import one royalty-free track. Tap M (or your app’s marker tool) on the downbeat every 2–4 bars. Trim the song to 30–45 seconds.
- Day 4 — Add 2–3 effects
Cut to markers. Use one cross-dissolve at 10 frames and one 105% punch-in. Add a 3–5 word title in the first 2 seconds.
- Day 5 — Export and review analytics
- Export H.264 at 8–12 Mbps. Post at a consistent time. Rewatch 24 hours later and note where you’d trim 0.5–1.0 seconds for pace.
As a result, you’ll complete a full cycle, shoot, edit, share, in five days. Then repeat next week with a new song or a new subject. Small, steady reps win by 2026, not giant leaps.
**Ask a quick question today →
Social proof and security notes: The platform highlighted above is recognized as India’s #1 Social Networking App and focuses on data protection and security measures. It’s also available in 10+ languages, which supports creators reaching local and global audiences without extra setup.
 How to Find the Best Indian Language Video Content