


Have you recently downloaded Chingari? Getting addicted to it?
Well, do you casually scroll through the For You Page, liking some random short videos, or looking to create your own Chingari videos to share with your friends and family, publicly or privately?
Or perhaps, not sure where to begin from, and can’t figure out how to create short videos by yourself? Don’t worry! To make things easier for you, we have compiled this guide.
What Is Chingari?

Chingari is #1 India’s Short Video App for Android and iOS devices. It’s headed by the team of techno geeks from Bengaluru. Chingarians can create, edit and share short videos jazzed up with amazing AR filters, music, 3-D stickers, special effects, etc. Similar to other social media apps, Chingari users can like, comment, and share their favourite videos across other multiple platforms. To keep it simple and clean, Chingari is here to bring back the social media fun again!
So, let’s begin the fun and know how to snap creative Chingari videos yourself and unleash your inner creativity.
All New Self-Time Feature On Chingari Camera
Self-timer is a hands-free shooting mode that counts down and starts recording automatically. From getting long shots to crystal share videos, it also helps creators to use both hands in dance or other acts.
For those who want to record videos without holding the phone in hand, this feature is appropriate. The app will start the countdown once the user taps to begin recording.
It would seem like an easy thing, though, but not as many people as you think know how to use it. Check out the step by step function below to use it!
Step 1: Open the Chingari app and click on the “upload” option from the bottom menu to start recording a video.
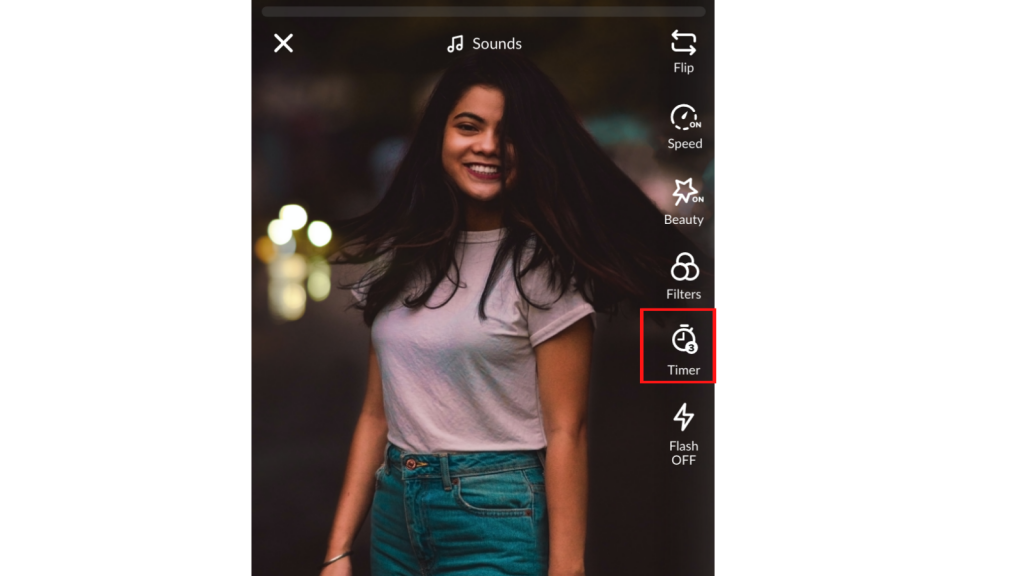
Step 2: With the camera open, click on “Timer” on the right side menu.
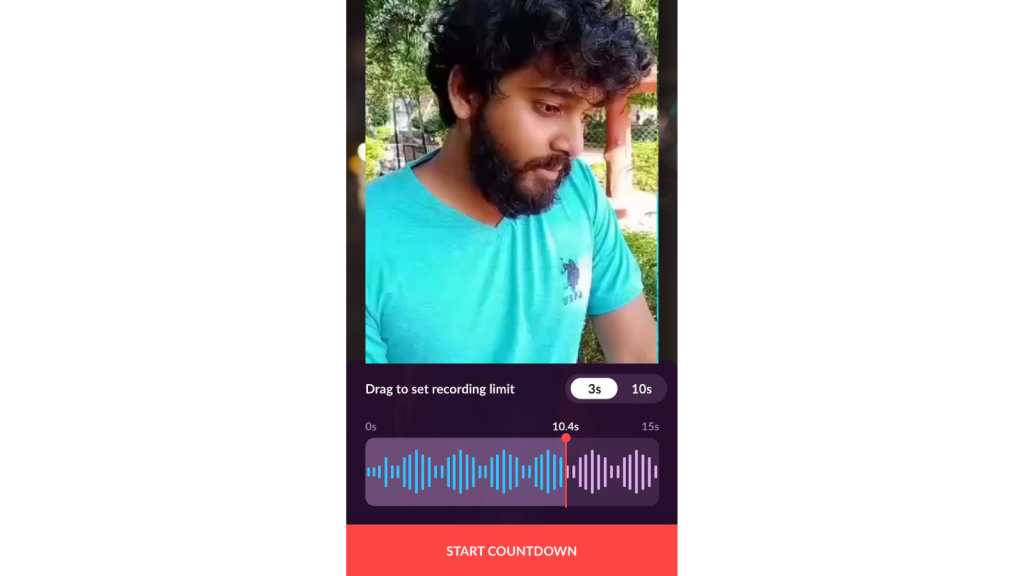
Step 3: Adjust your frame and tap on the countdown time to start recording (3s timer will begin). After setting, click on the “Start recording” option available in the bottom menu.
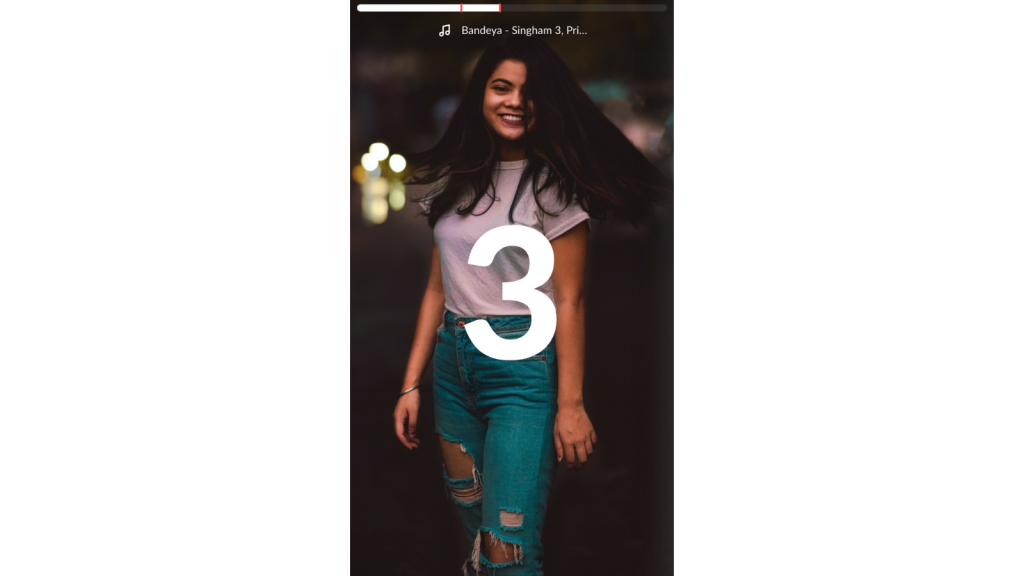
Step 4: The countdown will start with a countdown indicator to let you know the exact moment when the recording starts.
Step 5: The recording has started. If something went wrong, you can click on the record icon and stop the recording.

If you have already finished the video action, but the recording has not yet finished, you can click on the same icon to complete the process.
Step 6: If you choose to delete the recording, click on the “back” option, a popup will appear, “Delete the last video”. Click “Yes” to proceed.
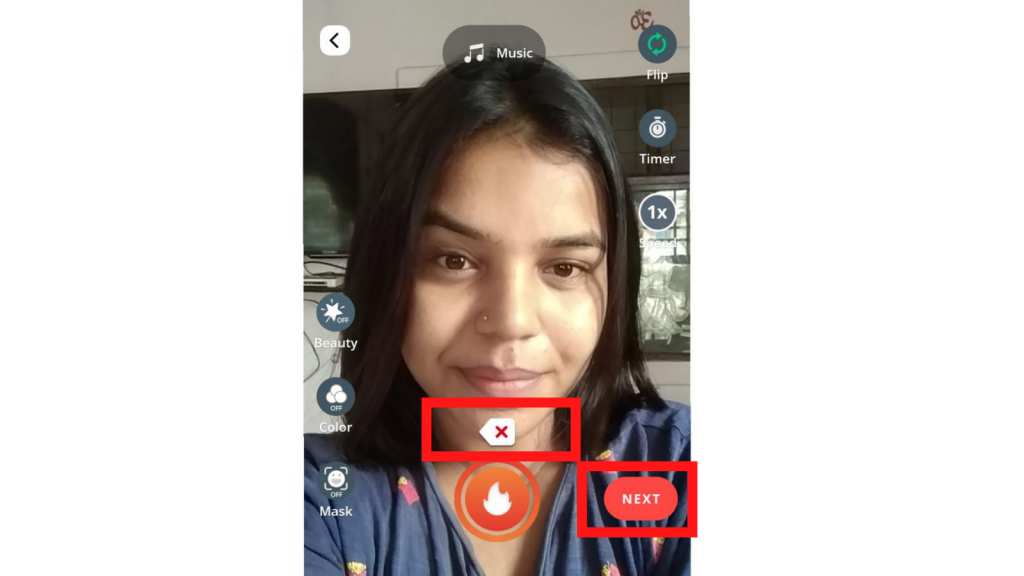
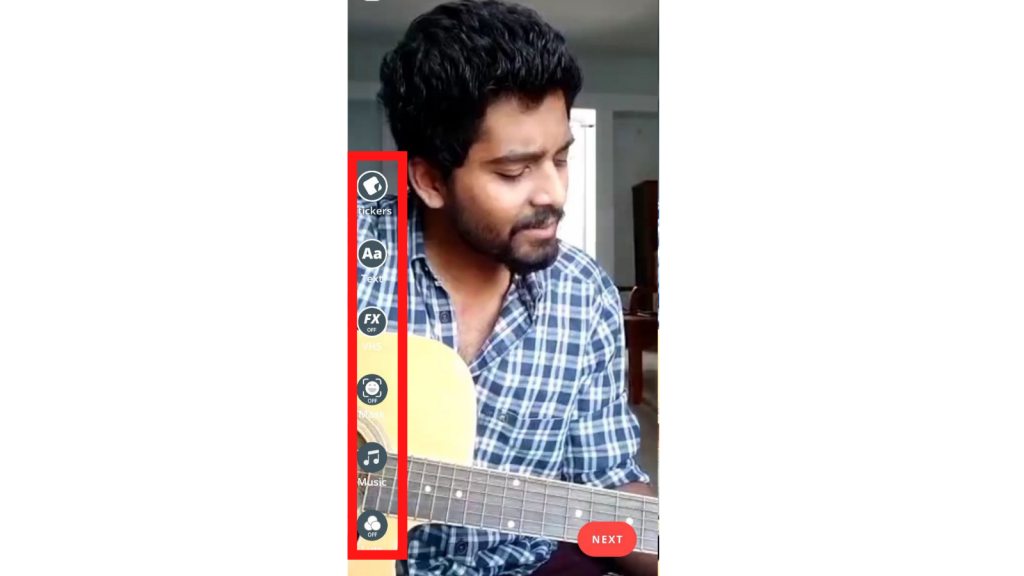
Step 7: If everything is ok with the recording, you can make all adjustments (like Speed or slow, add music, beauty, colour, Mak filters) and edit to the recording and click on “Next” to post the video.
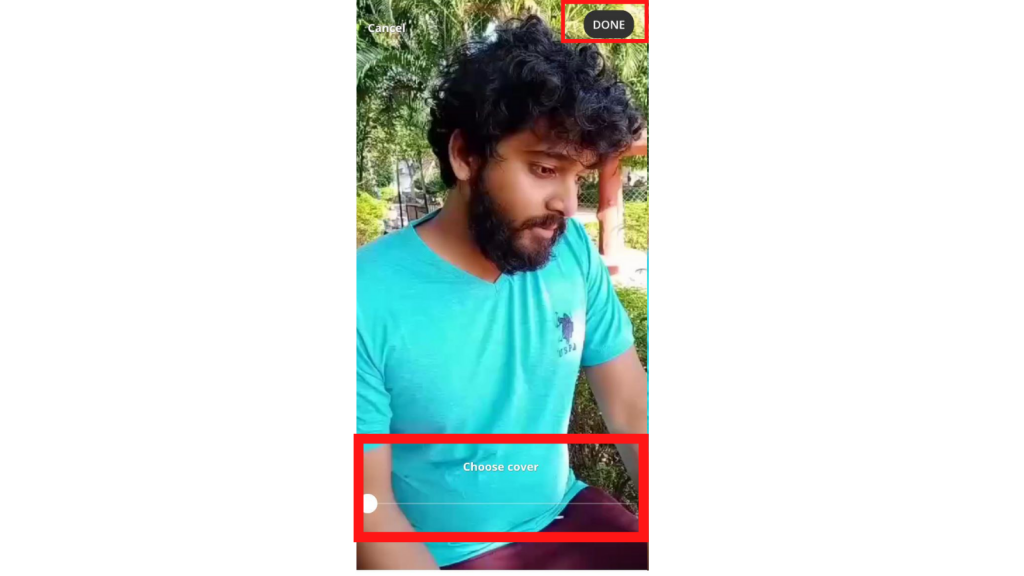
Step 8: Here you can add a cover to your video as per your choice. Click on “Done” to proceed.
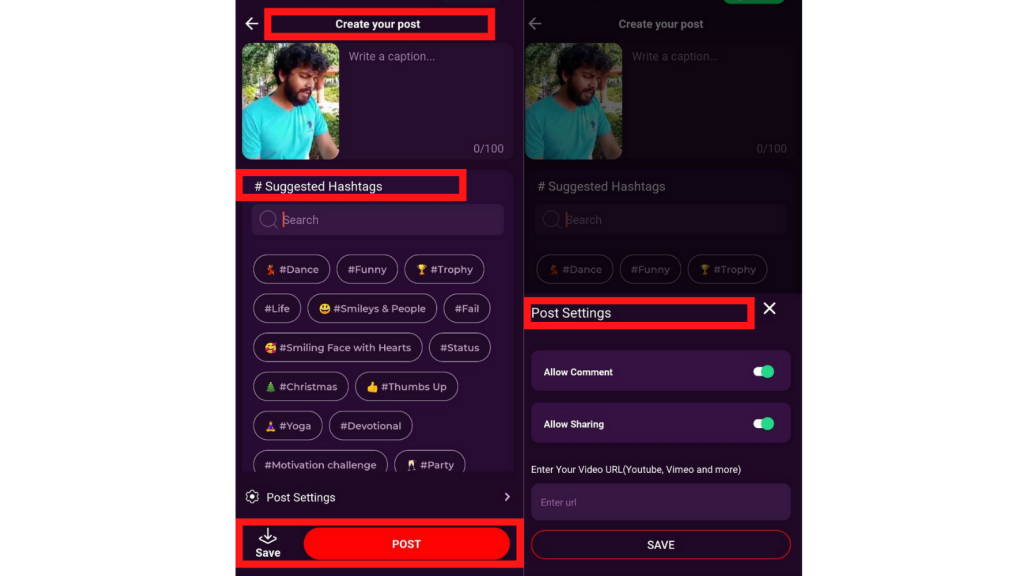
Step 9: It’s the final step. In this “Create Your Post” tab, give a caption for the video, add relevant and trending Chingari hashtags, manage the post settings option (allow comments, allow sharing, and enter your URL (either YouTube, Instagram or any other video sharing platform) when finished, click “Post” option available in the bottom right corner of the page.
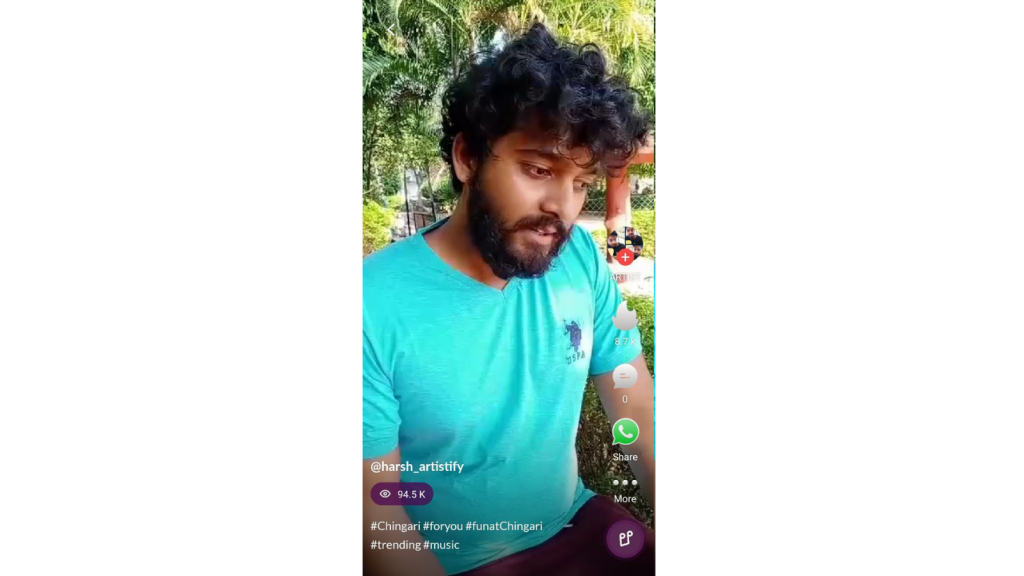
Ready! Record some interesting, creative videos with Chingari’s “Self-Timer” feature without the need to hold your phone.
 How Chingari Is Rewriting The Short Form Video App Destination In India?
 How to Create Slow-Motion Video on Chingari?