



50 million+ people share short videos on Chingari, and the clips that stand out don’t rely on pricey gear; they make clear choices in video editing with effects and music. In 2026, editing is about intent: match style to story, pick licensed tracks, and keep audio clean so your message lands.
Here’s the short answer you came for: choose simple, story-first effects, use one primary track that fits your tone, sync important cuts to strong beats, and keep dialogue easy to hear. For a class presentation, keep transitions clean and music light. For a short film, favor color and sound design over flashy wipes. For social reels, lead with energy in the first three seconds.
This guide talks to your reality: tight budgets, phone-first workflows, and deadlines that say “due Thursday.” I’m a senior film student talking to you like lab partners, not a lecture. You’ll get the “why,” then the “how,” plus a weekend challenge to ship one polished cut.
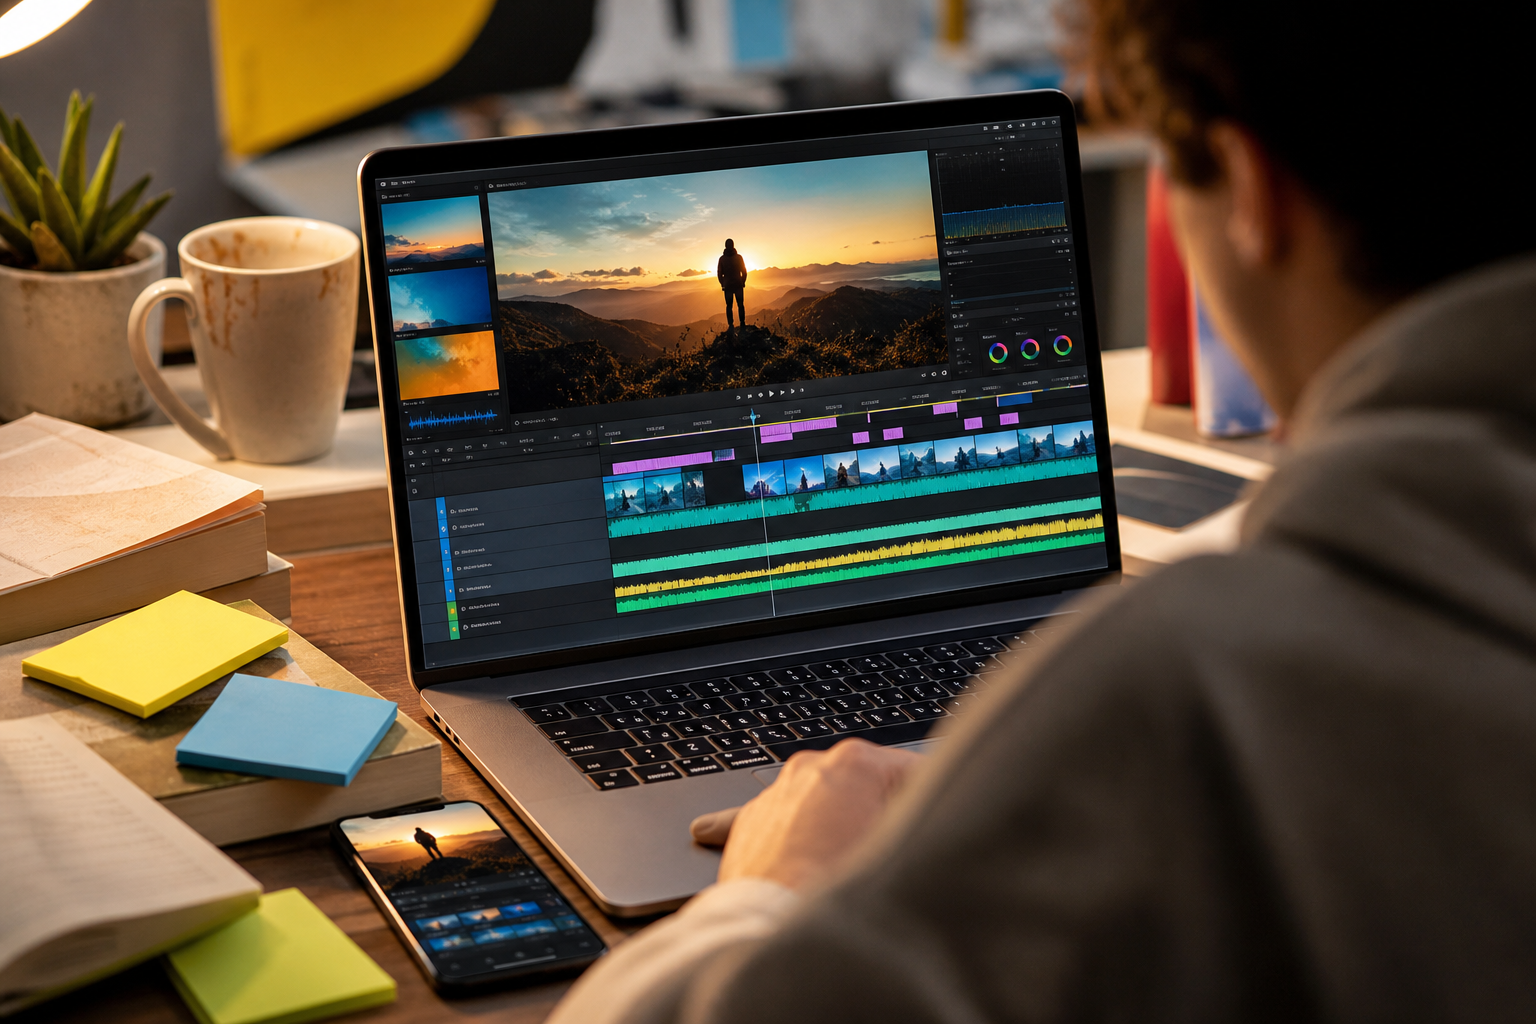
What Kind of Effects and Music Do College Videos Actually Need?
For most student projects, the best effect is clarity. Effects should serve your story, not distract from it. In other words, keep it simple unless the assignment calls for a bold style. This is the core across student use cases.
Class presentations need focus and trust. Use straight cuts or a quick dissolve, a light color correction to fix white balance, and a soft instrumental bed at low volume. Your goal is attention on the speaker and slides, not on a glitch transition.
Short films need mood. Start with color grading to set time and tone. Add subtle sound design: room tone, footsteps, a distant hum. Use music only when it adds meaning. One strong musical motif beats five random tracks.
Social reels need hook and rhythm. Open with motion, text-on-beat, and a bold move like a speed ramp or whip pan. Keep your music high-energy, and cut to the strongest beats in the first three seconds. Then, land a reveal or punchline.
Portfolio pieces need polish and consistency. Pick a color look and stick to it. Keep transitions invisible so your content, cinematography, animation, or VFX, stays front and center. Choose tracks that feel timeless, not trendy, so the reel still plays in six months.
Key terms, decoded
-
Transitions: The move from one shot to the next. Cuts are instant. Dissolves fade between shots. Wipes and spins draw attention — use sparingly unless it’s part of your style.
-
Color grading: The process of shaping color and contrast to create a mood. Start with correction (fix exposure, white balance), then grade (add a look).
-
Royalty-free music: A license model where you pay once (or use a free license) to use a track under set terms. It doesn’t mean “no rules”; read the license to avoid takedowns.
-
Sound design: The crafted layer of effects and ambiences under dialogue and music that sells the world of your video.
-
Class presentation: Cuts/dissolves, light grade, soft bed music, clear VO.
-
Short film: Careful grade, restrained transitions, music as theme, strong sound design.
-
Social reel: Bold opener, beat-synced cuts, speed ramps, high-energy track.
-
Portfolio: Clean cuts, consistent grade, minimal text, curated tracks.
For deeper ideas tailored to first-time editors, skim this primer: a primer for new creators.
Also Read!
Step-by-Step: Adding Effects and Music to Your College Video Project
Before you add anything, lock your story beats. Effects and tracks work best when they flow from a plan. Here’s a simple path you can follow tonight and repeat all semester; it’s the backbone of a strong student edit.
Structure first, style second
Step 1: Plan your edit structure
Write five beats on a sticky note: Open, Setup, Build, Payoff, Button. On your timeline, place markers at those beats. This keeps your edit from wandering and stops you from adding effects with no purpose.
Step 2: Choose a mood and tone
Pick three adjectives: calm, bright, hopeful; or tense, cool, gritty. These guide color, music, and pacing. If your piece is calm, you’ll cut on longer phrases and use softer transitions. If it’s hype, you’ll lean into hard cuts and beat hits.
Music that’s legal and on-brand
Step 3: Source royalty-free music
Pick tracks you can actually use.
- Pixabay (free, attribution rules per track)
- Uppbeat (free tier with credits; paid unlocks more)
- YouTube Audio Library (free; check each track’s terms)
- Free Music Archive (curated; follow the license)
- Artlist/Storyblocks (paid libraries if you have budget)
Download WAV or high-bitrate MP3. Keep a “Licenses” folder with screenshots or PDFs of terms. That proof can save a grade, and your account.
Effects that serve the cut
Step 4: Layer effects purposefully
-
Color: Fix white balance and exposure first. Then add a gentle look (film warm, cool sci-fi, high-contrast noir). Keep skin tones natural. – Transitions: Use straight cuts by default. Add a dissolve for time passing or a speed ramp to emphasize motion.
-
Text: Use on-screen titles for clarity. Keep fonts readable on small screens. – Motion: Stabilize shaky shots. Don’t overdo it — “floaty” can feel fake.
“I stopped stuffing transitions in every cut and focused on rhythm. My grades jumped, and my reels finally felt pro.” — Priya, campus filmmaker
Sync and sound
Step 5: Sync cuts to beats
Lay your music first. Zoom into the waveform and mark kick drums and snare hits. Cut or align actions on those marks. For dialogue-first edits, let the voice lead and use the music’s downbeats to transition between ideas.
- Dialogue level: Aim peaks around -12 to -6 dB.
- Music under VO: Mix around -20 to -12 dB. Duck music 4–6 dB under speech.
- Avoid clipping: Keep your master peak at -1 dB or lower.
Ship the right file for the right screen
Step 6: Export settings for different platforms
- 16:9 YouTube/classroom: 1920×1080, 24/25/30 fps (match source), H.264, 12–16 Mbps bitrate, AAC 320 kbps, 48 kHz audio.
- 9:16 vertical reels: 1080×1920, same fps as source, H.264, 10–12 Mbps, AAC 256–320 kbps.
- Square 1:1 portfolios: 1080×1080, keep key action centered.
For a hands-on starter, check this walkthrough: this walkthrough for new creators.
5 Mistakes College Students Make with Video Effects and Music
You can dodge most headaches with a little planning. These are the traps I see every week, plus quick fixes. Keep these in mind as you practice editing on phones or laptops.
-
Overusing transitions
Fix: Default to cuts. Add a dissolve only to show time passing or a calm mood. Save whip pans or glitch wipes for story beats that need punch. -
Using copyrighted hits without permission
Fix: Stick to licensed libraries and keep receipts. For context on takedowns under U.S. law, see the Digital Millennium Copyright Act. If you must reference a popular song in class, keep it off public platforms. -
Mismatched tone between visuals and track
Fix: Write three adjectives for your mood, then audition tracks that fit all three. If your visuals say “tender,” a hard trap beat will confuse viewers. Swap the track, not the grade. -
Drowning dialogue with background music
Fix: Sidechain duck music under the voice or keyframe manual dips during lines. Aim for a -6 dB dip under every sentence, then ease back up in pauses. -
Ignoring audio levels and noise
Fix: Normalize dialogue to a consistent range, roll off low rumbles with a high-pass filter around 80–100 Hz, and add room tone under cuts to hide edits. Always leave headroom at -1 dB true peak.
If you do mess up, don’t scrap the edit. Mute the track, re-level your voice, and re-export. A clean mix beats fancy visuals, every time.
Also Read!
How to Create Indian Language Music Videos That Grow Your Audience
How to Choose the Best Short Video Sharing Platform as a New Creator
Free and Budget-Friendly Tools for Student Video Editors
You don’t need paid software to produce strong work. Match your tool to your use case and device. This is where phone-first editing shines for adding effects and music under tight deadlines.
DaVinci Resolve (desktop, free): Best for grading and longer projects. You get pro color tools, good audio, and fast trimming. If your short film needs a look, start here. Hardware matters, so test render times on campus machines.
CapCut (mobile/desktop, free): Great for social cuts, speed ramps, auto-captions, and quick effects. If you’re cutting 15–30 second reels, this is a fast lane. Its templates can help you learn timing, use them as a guide, then customize.
iMovie (iOS/macOS, free): Simple, stable, and clean. Perfect for class presentations and beginner reels. You get solid titles, basic color, and no noise. It won’t overwhelm you.
Canva Video (web/mobile, free tier): Handy for text-heavy pieces, posters-into-video, and group projects. Drag, drop, add motion text, and ship. It’s not for deep color work, but it nails clarity.
Tools like Chingari (mobile) are worth a look for short-form creation because they include built-in effects, music libraries, and short video sharing. As India’s #1 Social Networking App with short video sharing capabilities, Chingari is available in 10+ languages and offers live video streaming. That matters when you’re building an audience outside campus. The platform also invests in data protection and security measures, and it counts 50 million+ users, social proof that your clips can find viewers. If you want a quick comparison of mobile-first workflows, read this take: this take for musicians and singers.
“I cut my doc teaser in Resolve, then made a 20-second vertical teaser on my phone. Same story, two formats, zero extra footage.” — Mateo, student editor
Moreover, if your department offers it, Adobe Premiere Pro has student discounts that bring the monthly price down compared to standard rates. If you need team projects or After Effects handoffs, that route can pay off for capstone films.
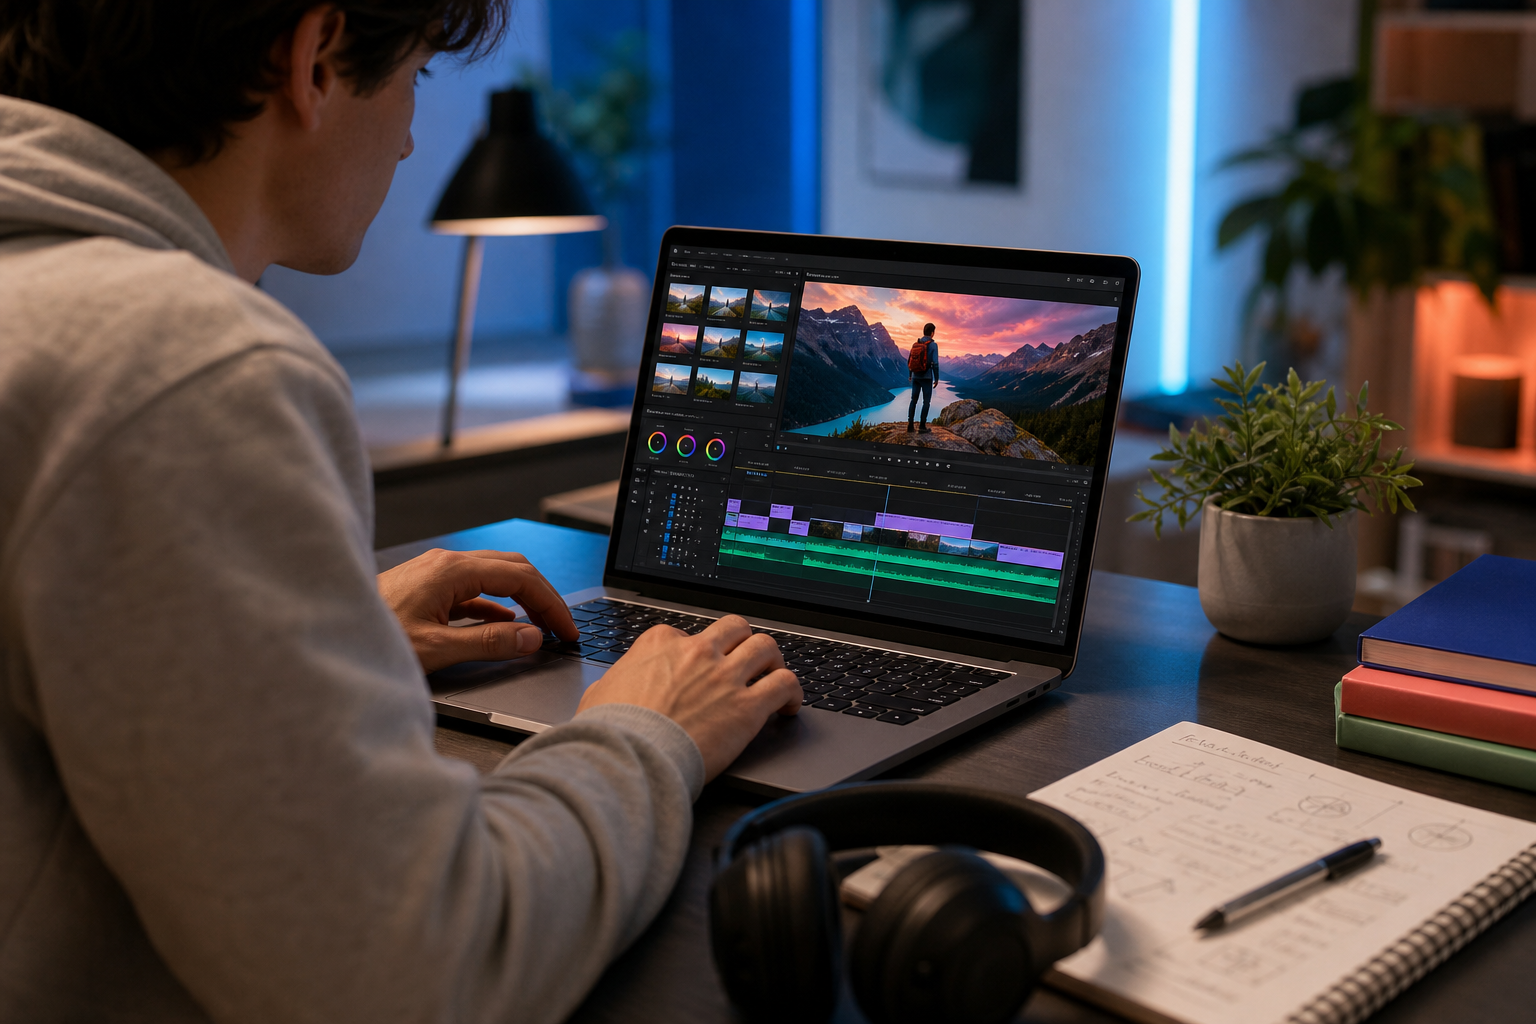
Key Takeaways
Before you bounce to class, lock these in. They’ll save you hours and make your next cut feel intentional. Yes, even if you’re editing on a phone during club hours.
- Story first, then style. Effects are seasoning, not the meal. Plan your five beats and match transitions to mood.
- Legal music or bust. Keep a “Licenses” folder. Use libraries like Pixabay, Uppbeat, and YouTube Audio Library, and track credits in your notes.
- Color correction before color grading. Fix white balance and exposure, then add a look that supports the tone.
- Mix so people can hear you. Dialogue around -12 to -6 dB; music under VO around -20 to -12 dB; master peak at -1 dB or lower.
- Export for the screen you need: 1080p 16:9 for class; 1080×1920 for vertical reels; match your source fps. Consistency beats guesswork.
As a result, you’ll approach the work as a craft, not a bag of tricks, and your work will feel cohesive across classes, reels, and your portfolio.
What to Do This Week: Your First Polished Edit
Pick one video you’ve already shot, a club recap, a class talk, or a scene you like. Don’t shoot anything new. Your goal is to turn that raw piece into a polished, shareable cut by Sunday night using three techniques from this guide. This is your on-campus sprint in 2026.
- Saturday morning: Write your five beats and pick three adjectives for tone.
- Saturday afternoon: Find one licensed track that matches all three adjectives. Place markers on big beats.
- Saturday night: Fix color and exposure. Add one intentional transition that supports a beat.
- Sunday: Mix your audio, export for your target screen, and post or submit.
Mini checklist before you export:
- Music licensed and documented (screenshot in “Licenses” folder)
- Effects intentional (each one has a story reason)
- Audio balanced (dialogue clear; no clipping; music ducked under VO)
- Correct resolution and aspect ratio for your platform
As you share, add a short caption on your process. For example, “Cut on beat 1–2–3 at 0:06; warm grade for sunset feel.” This shows growth and helps future you repeat what worked.
If you want tailored advice on a tricky scene or soundtrack choice, send a note and a link to your rough cut. I’m happy to point you to examples and quick fixes that fit your gear.
**Get help on your next edit today →
Note: For advanced reading on music licensing terms beyond this guide, search for “royalty-free” on Wikipedia and read the license conditions on each library’s site. Also, for creator-focused tips by niche, see: tips for musicians and singers and the 2026 guide.
 Short Video Creation and Sharing: 2026 Beginner Picks
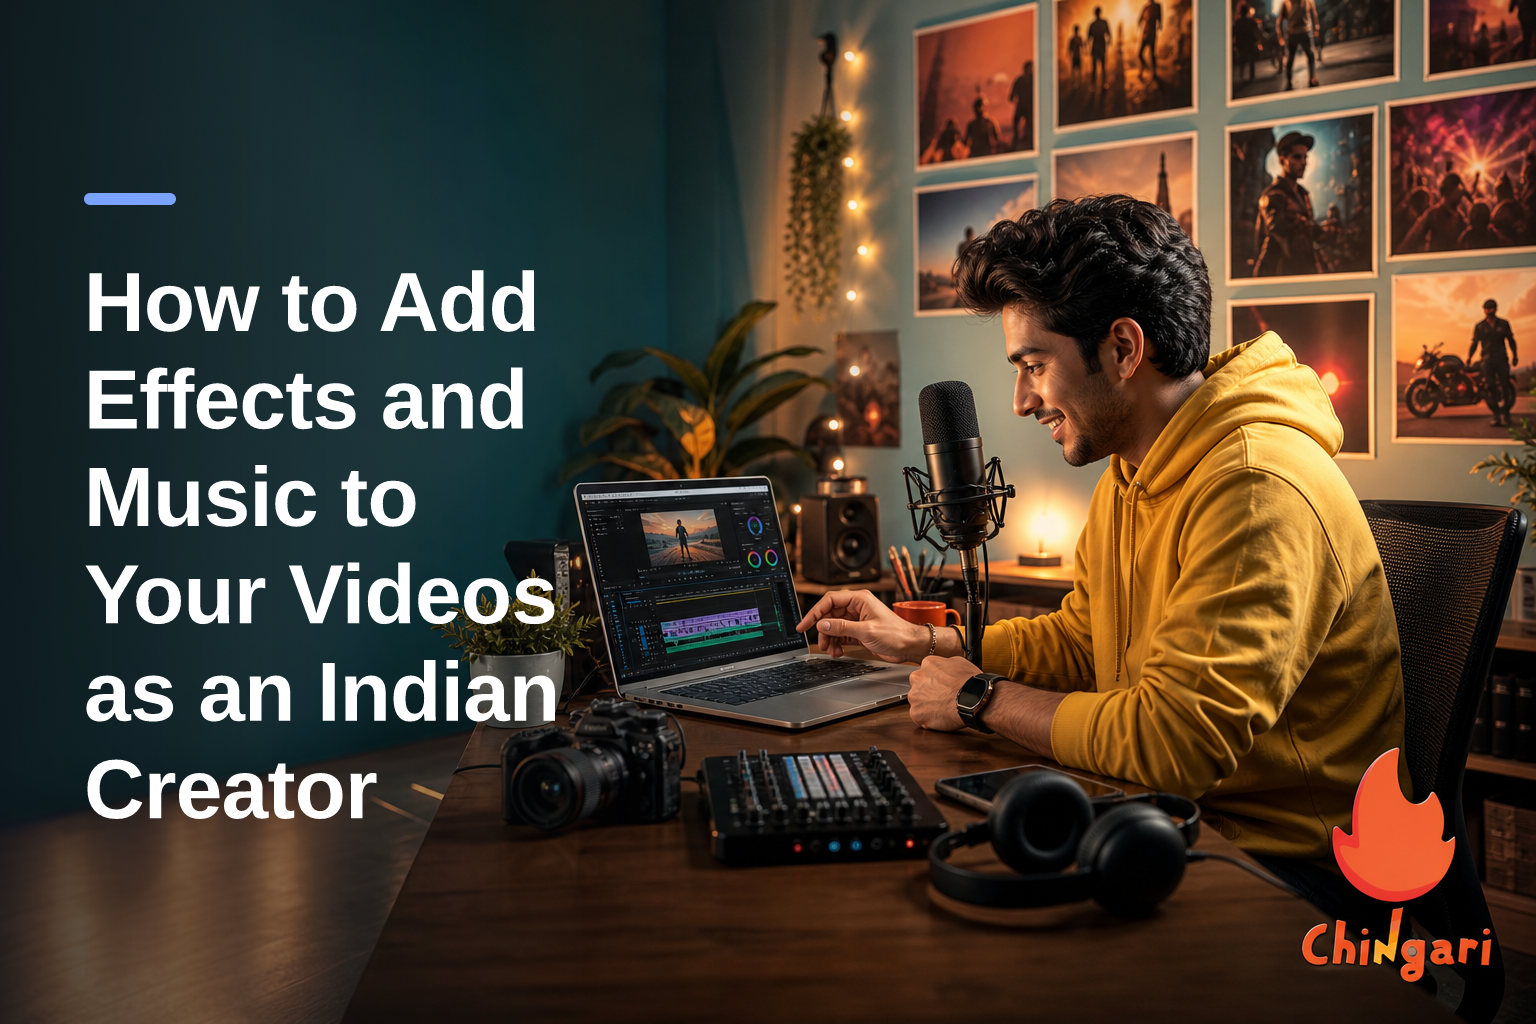 Video Editing With Effects and Music — India